A damaged stone wall doesn’t mean you need a full rebuild. With the right approach, you can restore strength and beauty in just a few careful steps. Homeowners often dread the thought of repairs due to worries about costs and the complexity of the process, but neglecting these issues can lead to larger problems in future.
In this article, we’ll guide you through the process of fixing stone wall cladding, starting from identifying underlying issues to performing effective repairs. You’ll leave equipped with practical knowledge that can help maintain the integrity and aesthetics of your stone walls.
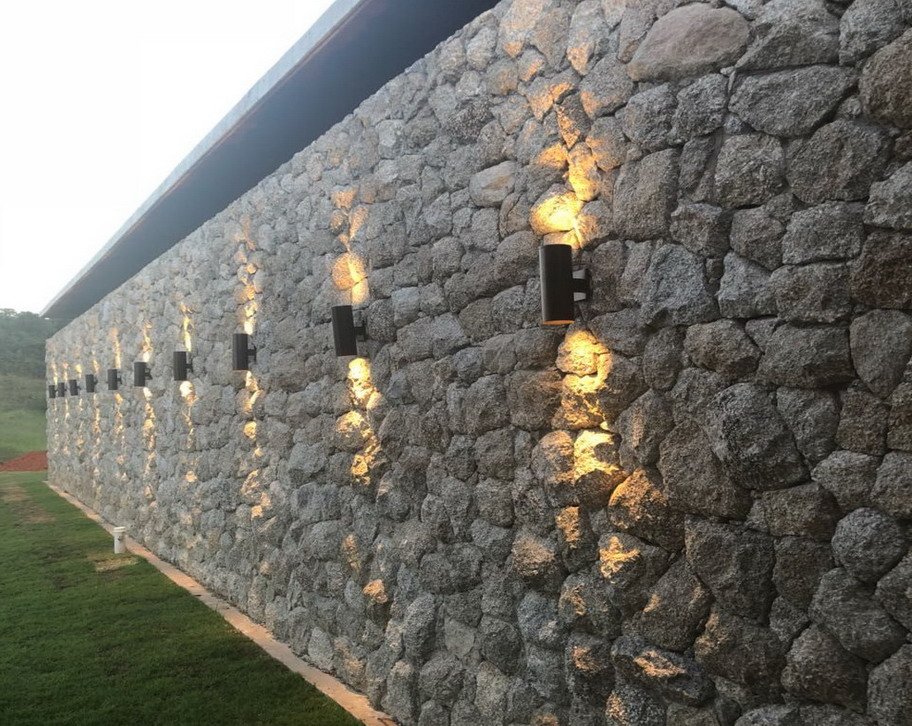
Your stone wall cladding faces several enemies that can damage the stone over time. Freeze-thaw cycles pose the biggest threat to natural stone surfaces. When water seeps into tiny cracks and freezes, it expands dramatically, creating immense pressure that splits your beautiful stonework.
Moisture problems cause the most headaches for any homeowner dealing with stone walls. Leaky gutters and blocked drainage allow water to penetrate behind your stone cladding installation. This constant wetness weakens the adhesive bond and creates perfect conditions for mold growth in damp or shaded areas.
You will often spot efflorescence as white, chalky deposits on your natural stone wall surfaces. These salt stains signal that moisture is penetrating your wall system. The cleaner you use regularly can help, but addressing the root cause prevents water damage and protects your investment’s long-lasting durability.
Start your inspection by walking around your stone wall cladding with a keen eye. Look for obvious cracks, loose stones, or gaps where the natural stone has separated from the wall. Pay special attention to corners and areas around windows where water damage typically begins.
Use a moisture meter to check for hidden water problems behind your stone veneer. Tap gently on suspected areas; hollow sounds indicate the adhesive has failed. Check mortar joints carefully, as deteriorated grout allows moisture penetration that weakens your entire stone cladding installation.
Assess whether damage affects just the surface or goes deeper into the structure. Minor surface issues like staining or small cracks are perfect for DIY stone wall repair techniques. However, if large sections feel loose or you notice significant structural movement, contact a professional before attempting repairs with trowel and sealer.
Before you begin any stone wall cladding repair work, thorough cleaning is absolutely essential. Remove all dirt, moss, and failed adhesive from the back of the stone using a stiff brush. A quality cleaner helps dissolve stubborn buildup that could prevent proper bonding with your new materials.
Pressure wash your natural stone walls to eliminate deep-seated debris and loose particles. Allow the stone cladding to dry completely; wet surfaces prevent adhesive from creating strong bonds. Use a soft brush for delicate natural stone surfaces that might damage under high pressure washing.
Safety comes first when working with stone walls and chemical products. Wear protective eyewear, gloves, and dust masks during preparation work. Keep your trowel and other tools clean throughout the process. Proper preparation ensures your sealer and new adhesive will create lasting repairs that protect your stone veneer investment for years ahead.
Choose cement-based adhesives specifically made for stone wall cladding projects rather than regular household glues. These specialized products bond perfectly with porous natural stone and handle outdoor weather conditions. Your stone cladding needs adhesives that can flex with temperature changes while maintaining strong attachment to the substrate.
Construction adhesives designed for masonry work outperform general-purpose options because they’re formulated for stone veneer applications. They penetrate deeper into absorbent surfaces and create waterproof seals that prevent moisture damage. This prevents future separation between your stone walls and the underlying structure.
Gather essential tools before starting your repair project. You will need a quality trowel for spreading adhesive evenly, mixing equipment for cement-based products, and possibly scaffolding for higher stone wall areas. Don’t forget sealer for finishing touches that protect your newly repaired natural stone cladding from weather damage.
Apply a high-quality stone sealer once your adhesive has fully cured to protect against weather damage. This creates a barrier that prevents water penetration and extends the lifespan of your stone wall cladding. Choose sealers specifically designed for natural stone to maintain breathability while blocking moisture.
Inspect joint areas and repoint where necessary using appropriate mortar for stone veneer applications. Check that all stone pieces sit flush against the substrate without gaps or movement. Test the repair by gently pressing each stone to ensure secure attachment.
Conduct a final walkthrough to verify your stone cladding repair meets professional standards. Look for consistent alignment, proper sealing, and no visible adhesive residue on stone surfaces.
At Atlantic Brick and Stone, we take pride in being one of Fredericton’s top-rated masonry repair contractors, trusted for delivering durable, professional results. Whether you’re dealing with loose stones, cracked cladding, water damage, or failing mortar, our team has the expertise to restore your wall safely and properly.
We handle every repair with attention to detail, ensuring your exterior not only looks great but stays protected for years. Let us help you take care of all your masonry repair needs. Contact us for a clear, no-obligation project estimate.
The adhesive layer for stone cladding should typically be 6–10 mm thick, varying based on the stone’s specific thickness. Always carefully follow the manufacturer’s recommended guidelines for application. Maintaining a consistent adhesive layer ensures proper bonding and long-term stability.
Stone cladding can be installed on most walls, but the surface must be strong, clean, dry, and even. Weak or damp walls require repair before installation to ensure proper adhesion. Consulting a professional can help determine the wall’s suitability for stone cladding.
Loose or detached stones often result from poor substrate preparation, wrong adhesive or mortar, or moisture seeping behind the cladding. Fixing requires removing loose stones, ensuring the wall surface is clean and dry, and then resetting with proper mortar and, if needed, mechanical anchors.
Cracking and chipping can occur over time, especially with environmental stresses (freeze-thaw cycles, moisture, structural movement), but they are not “normal if fit for purpose”. Small chips can often be patched or replaced; bigger cracks or structural-movement damage may require removing and re-applying the affected section properly.
If damage is localized (loose stones, chips, small cracks), selective repair — removing and resetting only affected stones — is usually sufficient. But if the failure stems from a systemic problem (poor adhesion, moisture penetration, structural movement), you should consider redoing the entire cladding section to avoid recurring issues.
It’s good practice to inspect cladding annually, especially after harsh weather, checking for loose stones, cracks, moisture stains, or efflorescence. Regular maintenance (cleaning, sealing, sealing joints) helps prevent gradual deterioration and costly repairs.
GET STARTED
Create stunning structures with our residential and commercial masonry services in Fredericton. From meticulous designs to the completed build, our process is professional and rewarding, and we can’t wait to build your dream with you.
Atlantic Brick and Stone, one of the best masonry contractors in Fredericton, NB
Contact
8 Muskie Street, Lower Kingsclear, New Brunswick E3E 0E7, Canada