Noticed cracks appearing in your brick wall’s mortar? This common issue affects homeowners worldwide, causing concern about their property’s structural integrity and potential repair costs. Even small cracks can lead to significant problems if they’re not addressed promptly.
Take control of the situation with our expert-approved repair methods. This comprehensive guide breaks down the entire process into manageable steps, helping you tackle the problem effectively.
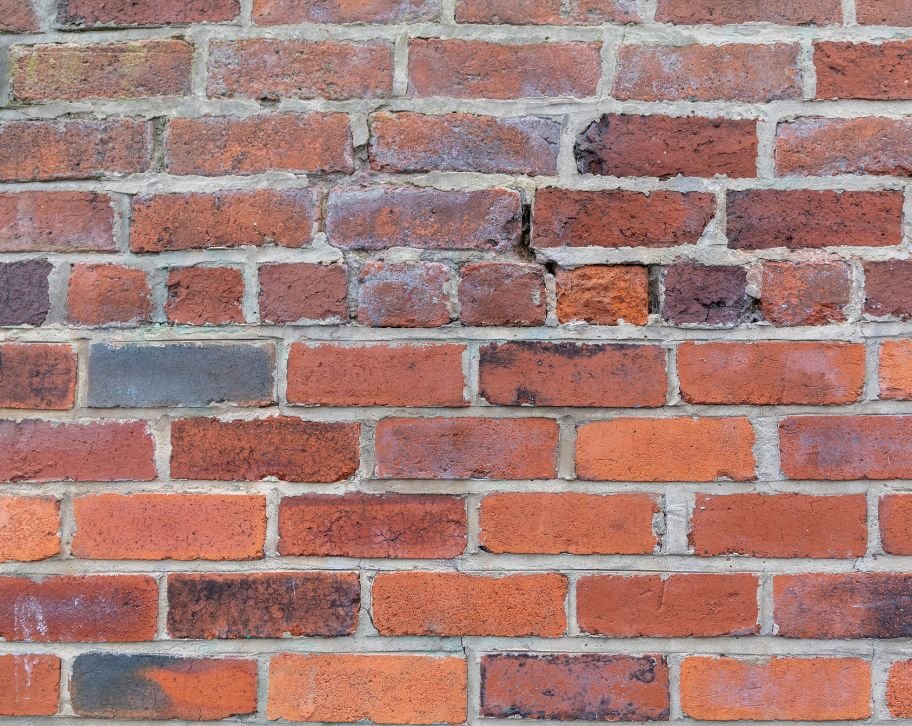
Brick walls can develop cracks over time, and knowing what type of crack you are dealing with makes a big difference in the repair process.
Small cracks and hairline cracks often show up due to normal settling or seasonal temperature changes. But when you spot horizontal cracks or wider cracks stretching across your brick structure, it might signal bigger issues with your foundation that need quick attention.
The types of crack you see tells a story about what’s happening to your brick and mortar. Weather changes can damage the mortar, while foundation cracks might mean structural wall repair is needed. If you ignore these warning signs, water can seep in and the mortar damage can spread.
Don’t wait until minor cracks become larger cracks! Early brick mortar assessment helps maintain your wall’s structural integrity and prevents costly brick wall reconstruction.
Before starting any brick wall repair techniques, you will need to figure out just how serious those cracks in brick walls are. Take a close look at your brick structure – some issues need quick action while others can wait.
Got tiny hairline cracks in your brick wall? These are usually cosmetic and can be fixed with basic mortar repair.
However, if you spot cracks wider than 1/4 inch or ones that form a stair-step pattern, your brick house might need professional foundation repair.
Check the depth of damaged mortar using a thin screwdriver. If it goes in easily or you notice the face of the brick is moist, that’s a red flag. Water getting behind your brick veneer can seriously damage the existing mortar and lead to bigger problems.
Remember, repairing cracks in brick walls requires careful assessment. If you are unsure about the crack in your brick wall, it’s smart to call a masonry repair contractor for proper brick mortar assessment.
When undertaking mortar repair work, safety should be your top priority. Personal protective equipment including goggles, dust masks, and leather gloves are essential to shield against airborne particles and prevent direct contact with mortar materials.
Having the right tools is another important thing for efficient repairs. Keep pointing tools of various sizes, diamond blade grinders, and a garden hose readily available. The hose helps control dust and maintains proper brick moisture levels during repairs.
Working conditions play a vital role in successful repairs. Use stable platforms when working at height, ensure proper ventilation in confined spaces, and avoid working in adverse weather conditions. Keep the work area restricted from children and pets until the mortar fully cures.
Proper tool maintenance and storage are equally important. Store mortar mix in a dry place and clean all tools thoroughly after use to maintain their effectiveness.
Selecting the right mortar type is essential for successful brick repairs. Type N mortar works well for most general masonry repairs, offering good balance between strength and workability. For structures requiring extra durability, Type S mortar provides enhanced strength and weather resistance.
Matching the existing mortar’s appearance is crucial for a seamless repair. Consider factors like color, texture, and aggregate size when choosing your mortar mix. You may need to test several samples to find the perfect match for your specific project.
When deciding between pre-mixed and custom blends, consider your project’s scope. Pre-mixed mortars offer consistency and convenience for small repairs, while custom blends allow better control over the final appearance. Remember to always test your chosen mortar on a small, inconspicuous area first.
Follow the below steps to carefully remove the old mortar from brick wall:
Getting your mortar mix right is important for a lasting repair. Start by carefully removing old mortar from the damaged areas, then mix the mortar according to the manufacturer’s instructions. Remember, the type of mortar you choose should match your existing brick work.
When you mix the mortar, aim for a consistency similar to peanut butter. The repair mortar needs to be workable but firm enough to hold its shape. Using a brick trowel, apply the new mortar in thin layers, making sure to fill mortar joints completely.
For areas with excess mortar, scrape it away carefully before it sets. The repair process requires patience – let each layer of mortar cure properly. In freezing climates, consider adding special admixtures to your mortar mix for better durability.
Proper curing is vital for long-lasting mortar repairs. Cover freshly repaired areas with plastic sheets and mist regularly during the first few days. This helps maintain optimal moisture levels and prevents rapid drying, especially in warm weather.
After initial curing, examine the repairs closely for proper adhesion and any signs of cracking. Run your hand over the surface to check for loose material or inconsistencies. Clean the repaired area using a mild masonry cleaner to remove any residue or stains.
Avoid performing repairs during extreme temperatures as this can affect curing quality. In cold weather, protect repairs from freezing, and in hot conditions, provide shade and extra moisture. Regular inspections every few months will help identify any maintenance needs early.
While minor hairline cracks can be DIY projects, extensive cracking patterns or historical masonry work demands professional attention. Licensed masons bring specialized expertise and proper equipment, ensuring lasting repairs that maintain your property’s structural integrity.
Consider the long-term cost implications of DIY repairs versus professional work. Professional masons like Atlantic Brick and Stone typically offer warranty coverage for their repairs, providing peace of mind and protection for your investment.
Safety should always be your primary concern. If cracks appear alongside bowing walls, foundation issues, or in load-bearing sections, contact a professional mason immediately for proper assessment and repairs.
Why tackle complex brick repairs yourself when Fredericton’s trusted masonry experts are just a call away? Atlantic Brick and Stone specializes in professional brick and stone wall repairs throughout the greater Fredericton area.
Our masons handle everything from minor crack repairs to major structural issues, ensuring your brick walls receive the expert care they deserve. We bring 15+ of local experience and proven expertise to every project.
Don’t risk costly mistakes with DIY repairs. Contact Atlantic Brick and Stone and let us restore your brick walls to their former glory.
GET STARTED
Create stunning structures with our residential and commercial masonry services in Fredericton. From meticulous designs to the completed build, our process is professional and rewarding, and we can’t wait to build your dream with you.
Atlantic Brick and Stone, one of the best masonry contractors in Fredericton, NB
Contact
8 Muskie Street, Lower Kingsclear, New Brunswick E3E 0E7, Canada