Hardscape vs Landscape – Key Differences Explained
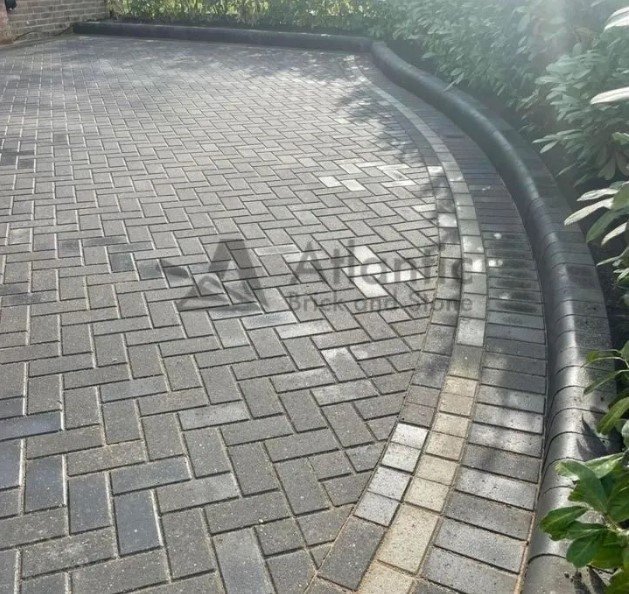
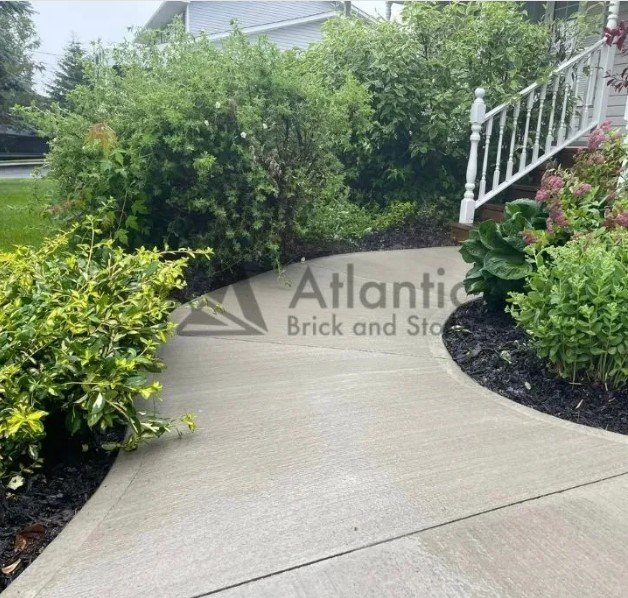
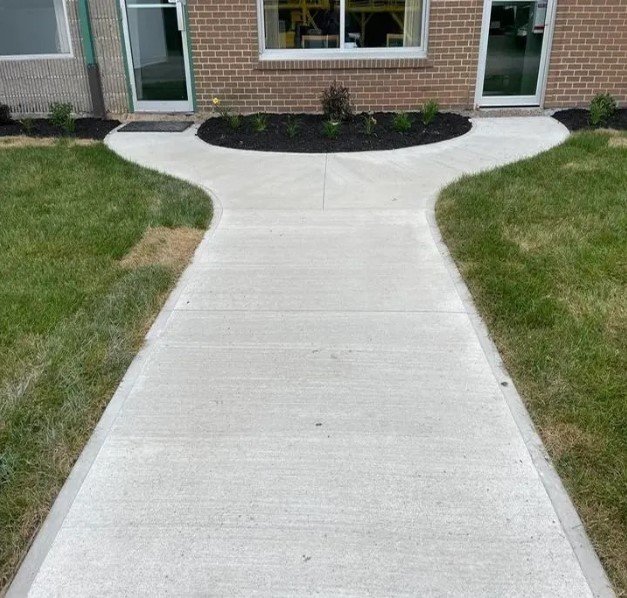
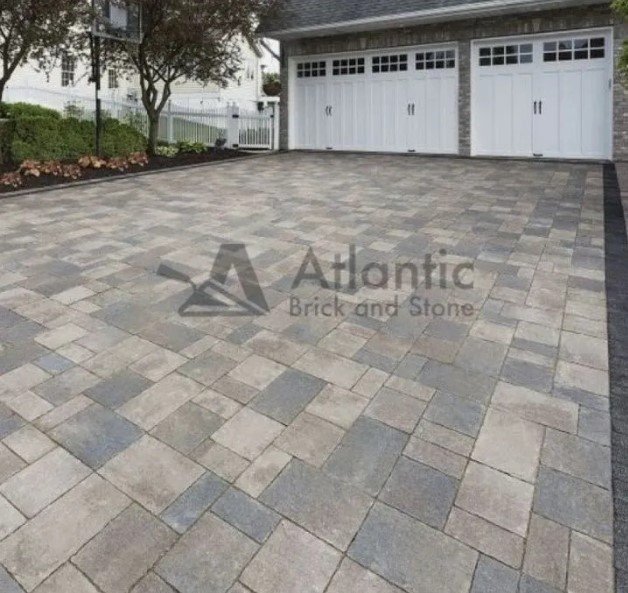
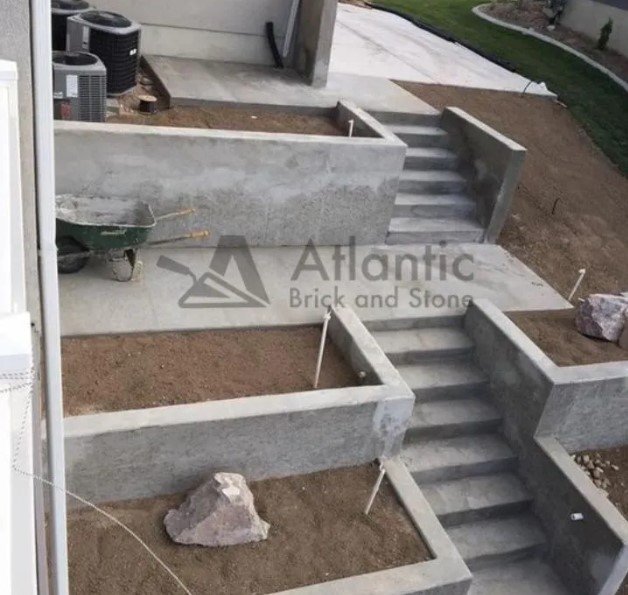
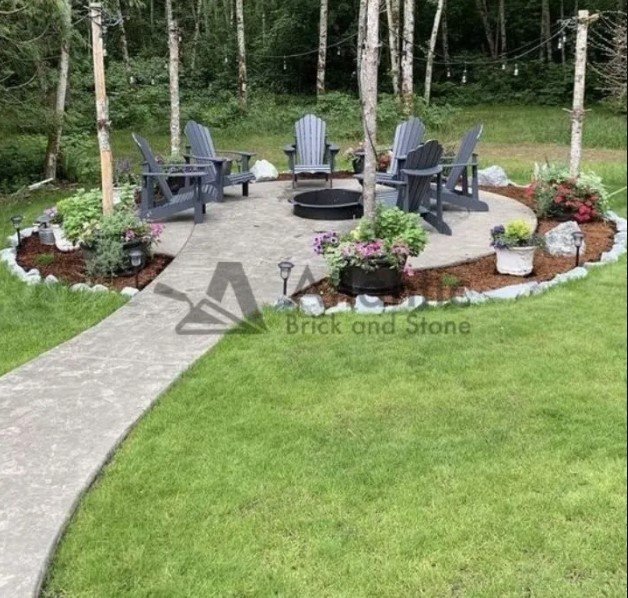
Hardscape vs Landscape – Key Differences Explained Creating beautiful and functional outdoor spaces requires balancing various elements for optimal form and function. Hardscapes provide enduring structures while landscapes integrate living plants into designs. But what exactly distinguishes these elements and how can they best complement one another? This article explores the key differences between hardscape and landscape components. It provides best practice tips on thoughtfully combining the two for maximum enjoyment and curb appeal of any exterior area. Read on to learn how to skillfully blend hardscapes with landscapes. What is Hardscape Construction? Hardscape refers to the non-living elements in your outdoor space that are used to enhance the design and function. Some of the most common hardscape elements you will come across include patios, walkways, driveways, and retaining walls. These man-made structures are usually made from durable materials like concrete, brick, stone, or interlock that won’t change or evolve over time. Some key benefits of using hardscaping are increased living space outside the home, drainage and runoff control, and curb appeal that can boost property values. Choosing high-quality materials and proper installation are important for hardscaping elements to withstand the test of time. Types of Hardscaping Elements Patios A patio is a flat surface that is commonly found in the backyard and used for outdoor living and entertainment areas. It can be a focal point and create an oasis within your yard. Materials like concrete or paver stones are often used for patios to withstand weathering from the elements. Walkways Also called pathways that connect different areas of the landscape to the front door or the patio to the garden. Interlocking stone is a very popular material for building walkways because of its flexibility to be installed around curves or uneven surfaces. Driveways They are sloped surfaces located in the front or backyard that provide vehicular access from the road to the garage. Asphalt and pavers are the most common materials used for hard, durable driveways that can withstand the weight of cars. Retaining Walls These are structural elements installed to hold or prevent earth from sliding on an inclined area. Common retaining wall materials are concrete, stone, or wood, and they add architectural design elements to the landscape. Pro-Tips for Hardscaping When planning hardscaping projects, use high-quality, long-lasting materials installed by professionals for optimal results. Consider the landscape design, natural grading, and water drainage. Quality compaction and foundations are important as well. Regular maintenance keeps hardscapes looking their best. What is a Landscape Project? Landscape, also called softscape, refers to the living and soft elements that form the natural setting surrounding a home. This includes plants, trees, flowers, shrubs, and ground covers. A quality landscape consists of the thoughtful placement of different shrubs, perennials, trees, and other greenery. Unlike hardscapes, landscapes are living elements that change colors and appearances with the seasons. Different Elements of Landscaping Grass A living ground cover providing an open lawn area. Needs regular mowing and watering. Trees Organic elements adding shade and scale. Come in many varieties. Flowers Colorful seasonal plants boosting garden appeal. Require weeding and pruning. Bushes Woody greenery offering privacy or edging beds. May need trimming and pest control. Key Tips for Good Landscaping Consider the landscape design and placements for optimal functionality and visual balance. Incorporate a mix of flowering, foliage, coniferous and deciduous plant varieties. Choose species suitable for your climate and sunlight conditions. Proper irrigation, weeding, pruning, and pest control help maintain landscapes. Landscape and Hardscape Combo for a Balanced Outdoor Space By thoughtfully incorporating both hardscaping and landscaping elements, homeowners can create cohesive outdoor spaces that are both functional and beautifully designed. Hardscaping serves to define areas for activities through elements like patios, firepits, and seating areas. Meanwhile, landscaping brings natural depth, visual interest, and seasonal colors. Some inspiring design examples show hardscape pathways deliberately placed to guide movement between landscape vignettes featuring different groupings of trees, shrubs, and planting beds. Well-designed water features like ponds or fountains become focal points enveloped by billowing greenery. Privacy and definition are established through purposeful juxtaposition of hardscape borders complemented by softscape infill like hedges and groundcover. Benefits of Combining Hardscape and Landscape Creates Cohesive Outdoor Spaces – Thoughtfully incorporating both elements results in aesthetically pleasing and functionally balanced outdoor areas. Defines Space While Adding Natural Beauty – Hardscapes provide structure and pathways between activity areas, complemented by lush vegetation in landscapes. Maximizes Outdoor Enjoyment – The mix encourages exploration and appreciation of the space with smooth transitions between areas. Enhances Curb Appeal and Property Value – An integrated design optimizes usable space and blends permanent fixtures with living plants. Provides Functionality and Low Maintenance – Hardscapes ensure longevity while gardens thrive, balanced by maintenance between surfaces and planting beds. Guidelines for Achieving a Good Balance Consider flow and focal points in design. Choose complementary materials. Allow sufficient room for landscape growth. Address maintenance needs. Install high-quality hardscapes befitting the environment. Have a professional design and install for optimal form and function over time. Hiring Professionals to Design Your Outdoor Space in Fredericton For homeowners looking to install high-quality hardscaping fixtures like interlocking paver patios, granite walkways, or paver driveways, hiring experienced professionals is a wise investment. Those based in Fredericton, New Brunswick bring experience designing and building durable, low-maintenance systems tailored for our climate. Atlantic Brick and Stone is a highly trusted hardscaping company with decades serving the Fredericton area. Specializing in patio, walkway, and paver driveway installations, our team expertly guides projects from concept to completion. We are proficient at installing top brands of concrete pavers and stone materials in both traditional and custom patterns. When you hire Atlantic Brick and Stone’s professional hardscapers, your hardscape installation gains the advantage of precise excavation, compaction, and leveling techniques perfected through experience in Fredericton’s unique soil conditions. Contact us today to discuss creating your dream patio, walkway, or driveway – Our services are renowned as the best for projects in Fredericton. In Summary Hardscaping refers to non-living elements