How to identify if your basement foundation needs waterproofing?
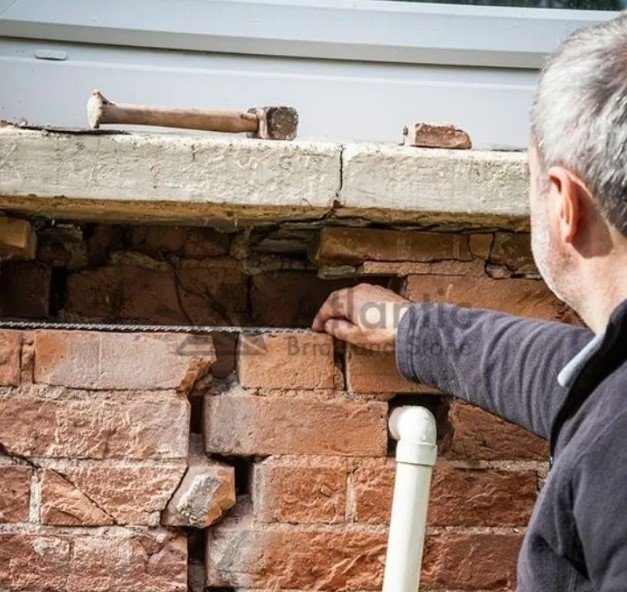
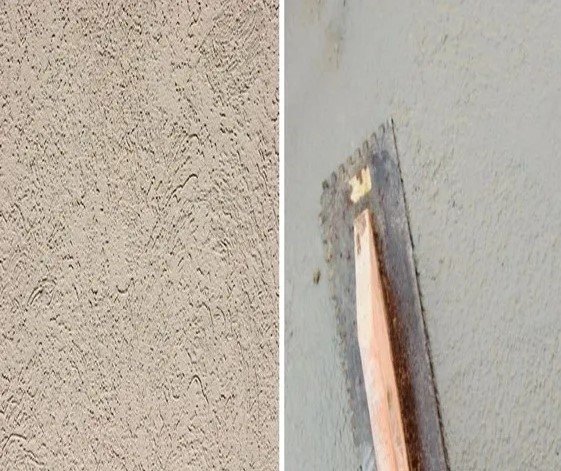
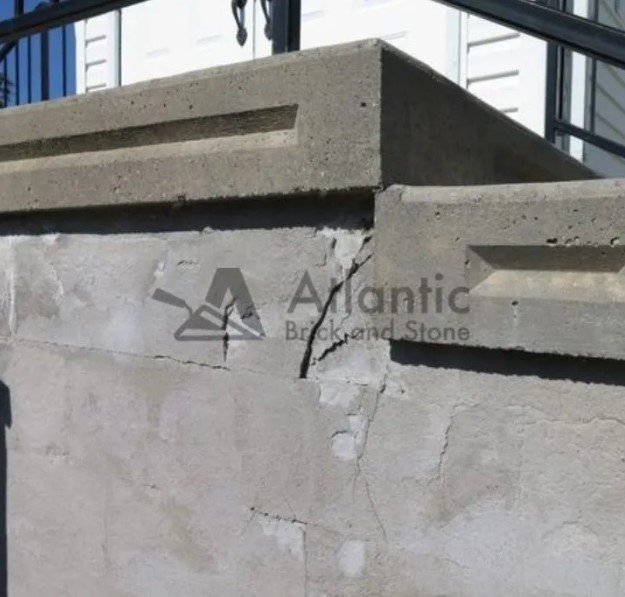
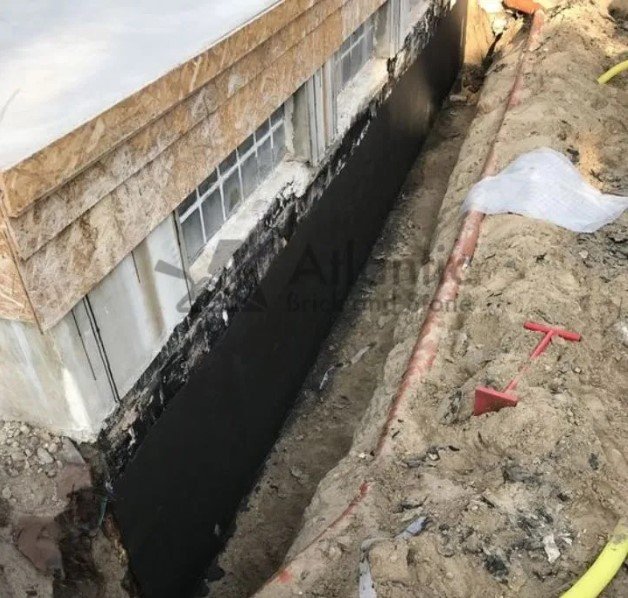
How to identify if your basement foundation needs waterproofing? Did you know that protecting your building foundation from leaks is one of the best investments you can make? A waterproof basement foundation helps ensure your family’s safety and comfort as well as prevents costly structural damage. As a homeowner, it’s important to understand the signs that your basement may need waterproofing so you can address any issues before they become bigger problems. To learn have a look at the top indicators that your foundation could use some extra protection from water. Typical Signs That Suggest the Need for Waterproofing Some clear signs that water may be intruding into your basement include visible cracks, efflorescence, damp smells, water stains, standing water, and increased humidity levels. Paying attention to these warning signs can help catch potential water issues early. Visible Cracks in Foundation Walls One obvious sign that water may be seeping into your basement through your foundation is visible cracks in the walls. Cracks of any size can allow water to enter, especially during heavy rain or snow melt. Take a close look at your walls for fine fractures, larger gaps, or crumbling concrete or bricks. Presence of Efflorescence You may notice a white, powdery substance on your basement walls. This chalky residue is called efflorescence, and it indicates that water has entered the wall and left minerals behind as it evaporated. Efflorescence is a tell-tale sign of a moisture problem that warrants further investigation. Damp or Moldy Smell Do you notice a musty, dank aroma in your basement? Such odors are common signs of excess moisture that can promote mold growth. Take time to trace the source – a damp smell means water could be seeping in through cracks in your foundation. Water Stains on Walls or Floors Visible water stains or discoloration on surfaces like concrete block is another clear indication that water from the outside is intruding into your basement interior. Look closely for light or dark patches around your foundation. Standing Water or Puddles Do you ever find small puddles in your basement after a rain? Puddles or standing water around the foundation suggest drainage or waterproofing issues that require professional diagnosis and remediation. Untended, these problems will likely only get worse over time. Increased Humidity Levels A little humidity is normal in any basement, but excess moisture hanging thickly in the air is a tell-tale sign of water intrusion. High humidity levels create optimal conditions for mold growth and can damage possessions if left unaddressed. Seasonal Indicators in Fredericton Certain times of the year bring an increased need to monitor your home’s exterior for signs of water penetration points. Here are a few seasonal tips: In spring, thoroughly check your foundation, roofing, and walkways for cracks after winter freeze/thaw cycles. Each fall before rain season, inspect your roofing, gutters, and downspouts to ensure proper water flow away from your foundation. Year-round, pay close attention to foundation and living areas after significant rainfall or storms for signs of new leaks or water intrusion. Types of Basement Waterproofing Solutions There are various methods for keeping water out of your basement based on the identified source and severity of intrusion. Some common options include: Interior Sealants: Caulking, epoxies, or coatings prevent water seeping through cracks in the walls from inside. Exterior Solutions: These barrier methods like drain tiles, waterproof membranes, or coatings stop water on the outside from entering. Comprehensive Drainage Systems: More involved systems with drain tiles, sump pumps, and automatic backup pumps provide robust protection. The right choice depends on your specific needs, and often a combination approach works best for a long-term waterproofing solution. An experienced contractor can advise. Preventative Measures and Maintenance Tips While foundation waterproofing provides protection, following regular preventative maintenance is key to preventing future water intrusion problems: Inspect gutters, downspouts, and drainage areas seasonally to remove debris and ensure proper flow. Check exterior vertical surfaces like windows and doors seasonally for cracks and seal as needed. Monitor landscape slopes and ensure water drains away from your foundation at least 6 feet out. Check interior periodically for signs of moisture or cracks and address promptly before they worsen. Make sure downspout extensions carry water at least 6 feet from foundation during rains. Maintain or install a functional sump pump with backup power and schedule yearly inspection. Diligent maintenance is much more cost-effective in the long run than postponing repairs until major water damage has occurred. A little prevention goes a long way to protecting your home’s value. Hire Skilled Basement Waterproofing Contractors in Fredericton When it comes to addressing basement water issues and foundation problems in Fredericton, homeowners and business owners can trust the expertise of Atlantic Brick and Stone. With over 15 years of industry experience, we have established a reputation for providing high-quality solutions at competitive prices. Atlantic Brick and Stone specializes in customized foundation repair for both residential and commercial properties. Our team can assess the unique needs of each client and develop tailored plans to remedy the situation effectively. By partnering with Atlantic Brick and Stone, Fredericton property owners can enjoy the peace of mind that comes with knowing their foundation and basement are in the hands of experienced professionals. Summary With proper maintenance, timely repair, and waterproofing when needed, you can provide your family with a safe, dry basement and avoid costly structural issues. Remember to: Inspect for signs of moisture intrusion both inside and out seasonally Address any cracks, leaks, or drainage concerns promptly before they worsen Maintain seamless exterior water flow away from your foundation’s edges Consider professional waterproofing for invasive problems or existing damage Schedule maintenance of gutters, seals, and drainage systems annually A little prevention goes a long way to protecting your home and its value for years to come. Start watching for these common signs today! FAQs About Waterproofing Basement How do you know if you have moisture in your basement? Some signs of excess moisture in the basement include damp smells,