How to Match Existing Brickwork in Extensions or Repairs?
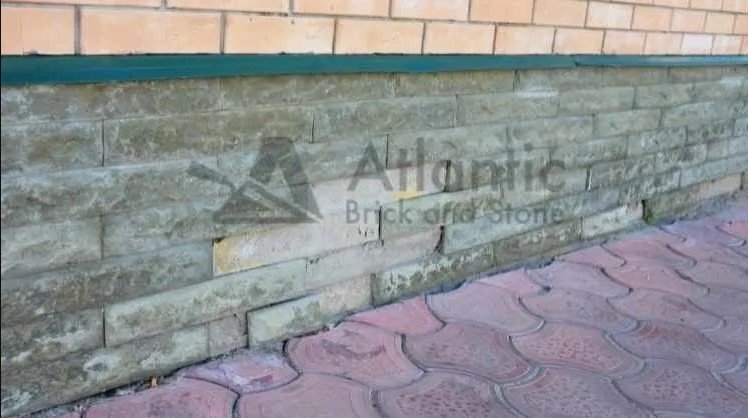
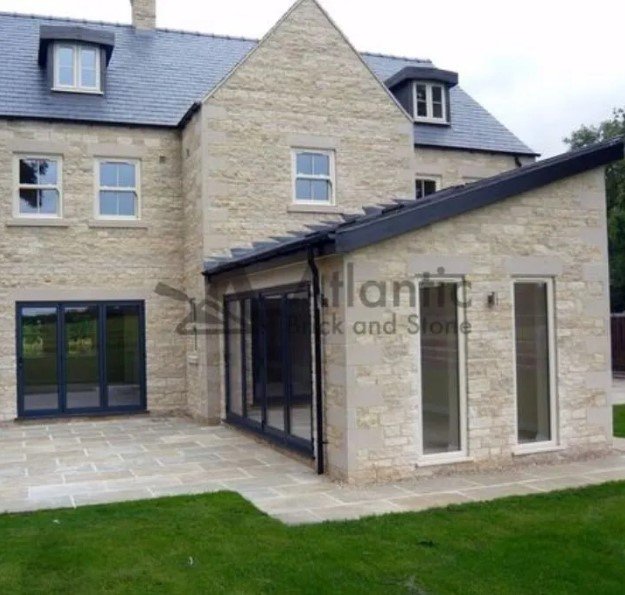
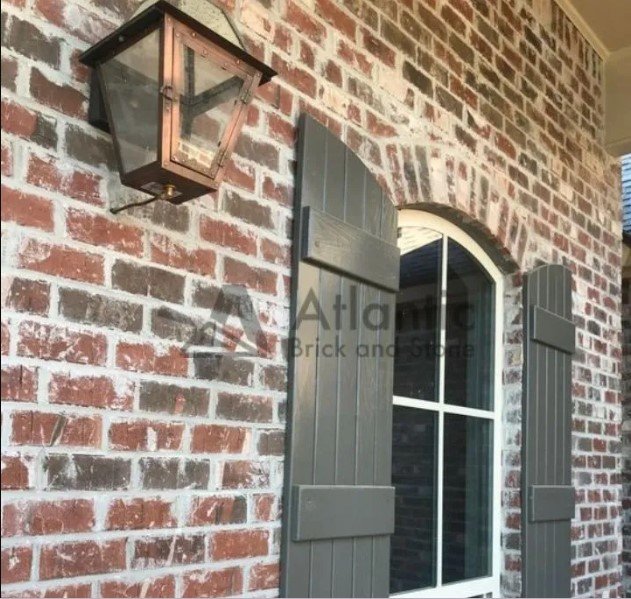
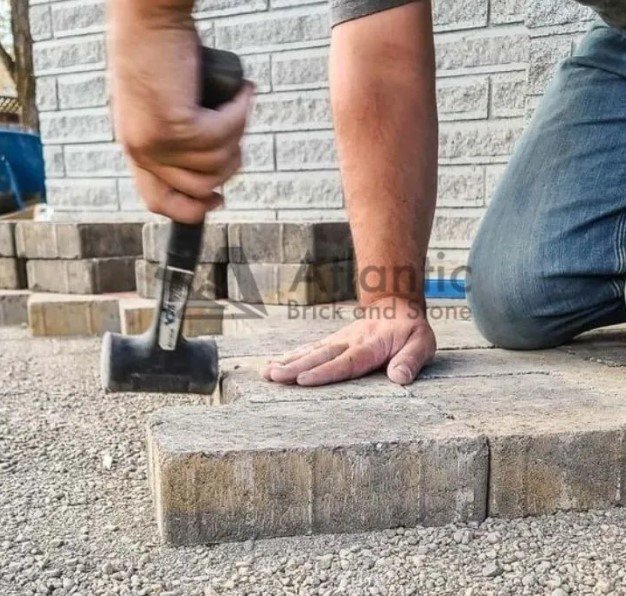
How to Match Existing Brickwork in Extensions or Repairs? When doing an extension or repair on your home that involves brickwork, it is crucial to match the existing brick as closely as possible. Not only does matching brickwork maintain the architectural integrity and visual appeal of your property, but it also ensures structural compatibility and longevity. As you start an extension project or masonry repairs, carefully analyzing and replicating key elements like the brick type, color, size, texture, and mortar will be essential in achieving a seamless blend of new and old brickwork. Why matching brickwork matters Matching brickwork is important for both aesthetic and practical reasons. On the aesthetic front, maintaining continuity in your home’s brickwork preserves its architectural style and curb appeal. Mismatched bricks can stick out like a sore thumb and compromise the overall look of your facade. This could negatively impact your property’s value. Practically, inconsistencies in the brick or mortar could also introduce structural issues in future. Variations in materials could allow water penetration or lead to cracks over many freeze-thaw cycles. Using bricks and mortar that work harmoniously with existing materials helps ensure the durability and integrity of the whole structure. Common challenges While it’s important to match existing brickwork, it can be challenging due to changes over time. The common reasons are: Brick colors tend to naturally fade over time with weathering exposure. What was once an exact color match may look slightly different years later. Brick sizes can vary between manufacturers based on raw material sources and production methods. Dimensions may not match exactly. Finding discontinued brick types decades later becomes nearly impossible as brick production changes. Matching gets harder over time. Mortar formulations have significantly evolved over 50+ years. Replicating original mortars, especially from early 1900s, presents challenges. Even batches from the same manufacturer may display color differences based on raw materials used during specific production runs. An exact hue match can be difficult. How materials like brick and mortar appear depends greatly on the final setting and context. A store sample may look quite different on an actual home. On-site lighting, positioning with other materials, and wall scale can alter how colors are perceived once construction is complete. Perceived matches may shift. Approaches to matching existing brickwork The key is researching your existing bricks before starting work. Analyze the brick type, dimensions, texture, color variation, bond pattern, and mortar used. Take photos for reference during the matching process. An experienced masonry repair contractor can evaluate replacement options to find bricks with similar dimensions, firing, and weathering properties. Some source reclaimed bricks or blend new and salvaged materials. Brick matching services scan vast brick product databases to locate nearly identical options. Finding the right bricks Your best bet is contacting the original brick manufacturer, but over time this can be difficult. Salvaged bricks expertly reused on-site offer an authentic match. Brick and stone suppliers also carry reclaimed options ideal for matching older homes. Search salvage yards in your city or state. Be open-minded – while an exact match may be elusive, close alternatives professionally installed can look seamless. Sourcing matching bricks Check with masonry material companies catering to historical restoration. Specialty salvage operations and online vintage building material marketplaces broaden the search area. As a last resort, custom color-matched bricks can achieve a realistic blend, though anticipate higher costs. You must discuss your project with your local masonry expert. They can help you achieve the best possible match. Matching mortar Beyond the bricks, matching the original mortar is equally important for maintaining structural bond strength and achieving an authentic appearance. Work with only best bricklayers and masons in Fredericton to analyze and replicate the composition and color of existing mortar joints. Mix ratios, aggregate size, and pigment quantity all impact appearance and performance compatibility. Test potential mortar matchups against a brick sample to evaluate curing color and texture under natural lighting before finalizing to avoid surprises. Blending new and old bricks Experienced bricklayers make the matching process easier through careful techniques. Staggering bond patterns breaks up large-scale repetition and mixing old and new bricks prevents obvious delineation between sections. Reusing some original bricks keeps your home’s history tangible. Skilled tuck-pointing during repointing mortar joints preserves the natural wear of older materials for continuity. Proper curing allows the final product to further blend over years of weathering. Get professional help in matching brickwork in Fredericton For the best results matching brickwork on home extensions or repairs, consult with Atlantic Brick and Stone. We are specialized at analyzing materials and crafting replicas of existing brick and mortar. Our expertise streamlines the process of finding replacements that seamlessly integrate into your home’s existing aesthetic and structure. Proper techniques executed by our professionals reduce concerns of achieving a harmonious appearance and durability that lasts for decades. Summary Analyze your existing brick, mortar and workmanship Research replacement options like salvaged bricks Consult brick matching specialists for guidance Mix old and new materials with careful techniques Consider custom options if needed for color or size Allow a test section to cure before full installation By taking a careful approach, you can preserve your home’s beauty and value for a longer time through an extension or masonry repairs that blend seamlessly with the original brickwork. With the right preparations and help from specialists, the new sections will be virtually indistinguishable from the existing architecture. Get Your Commercial or Residential Brickwork Project Estimate Online Now! 506-304-0771 atlanticbrickandstone@gmail.com Request an Estimate