Avoid Chimney Crown Construction Mistakes
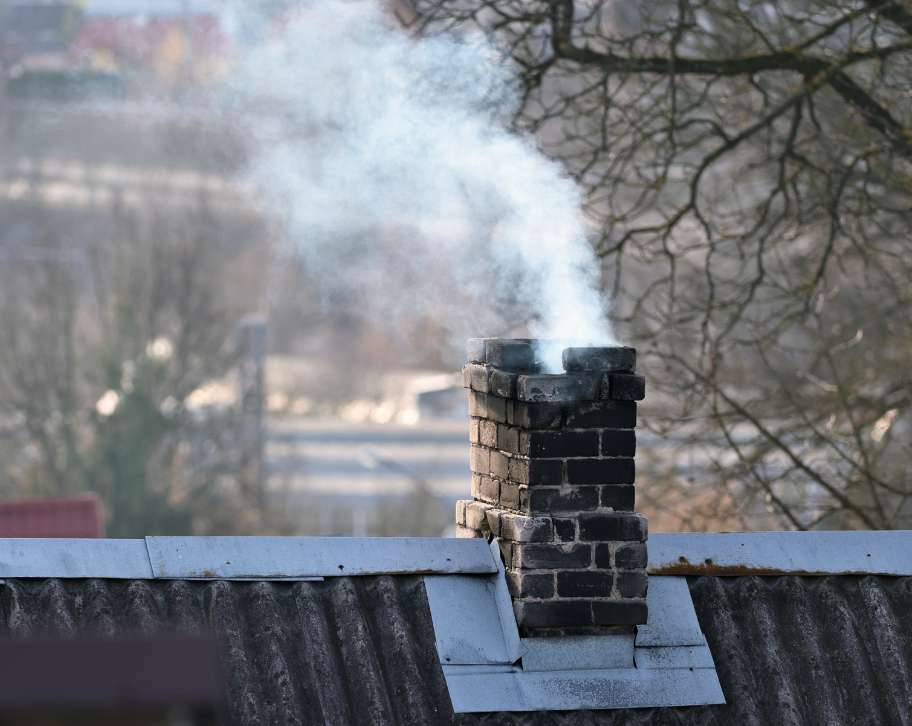
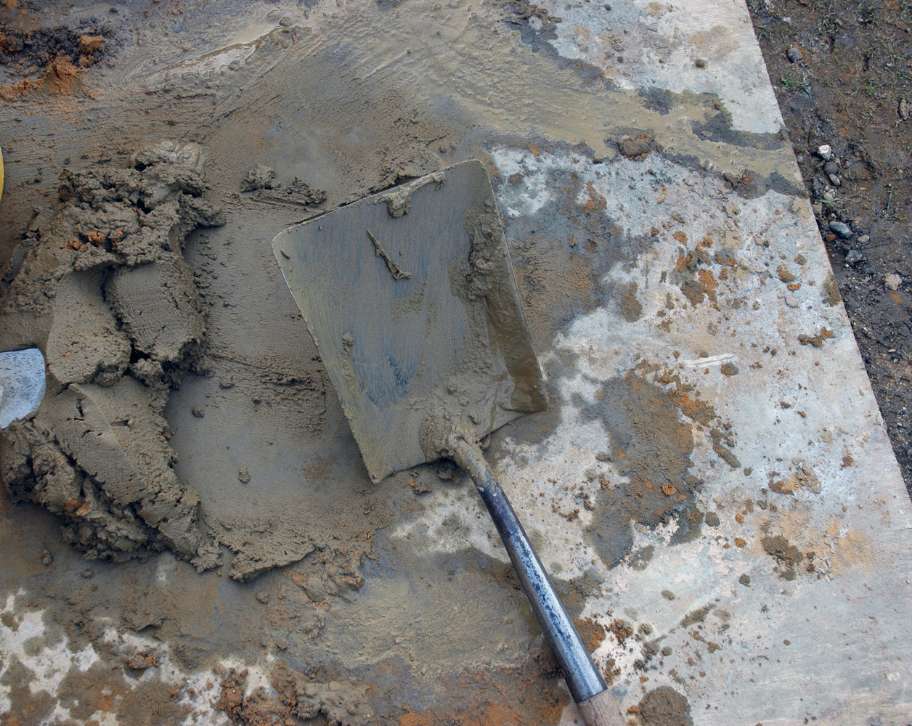
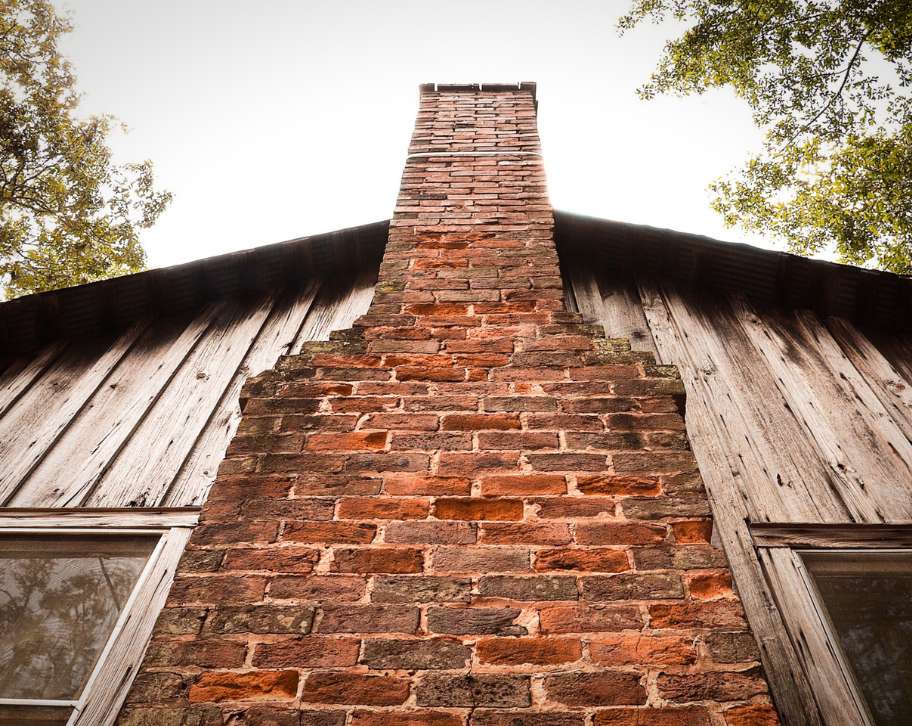
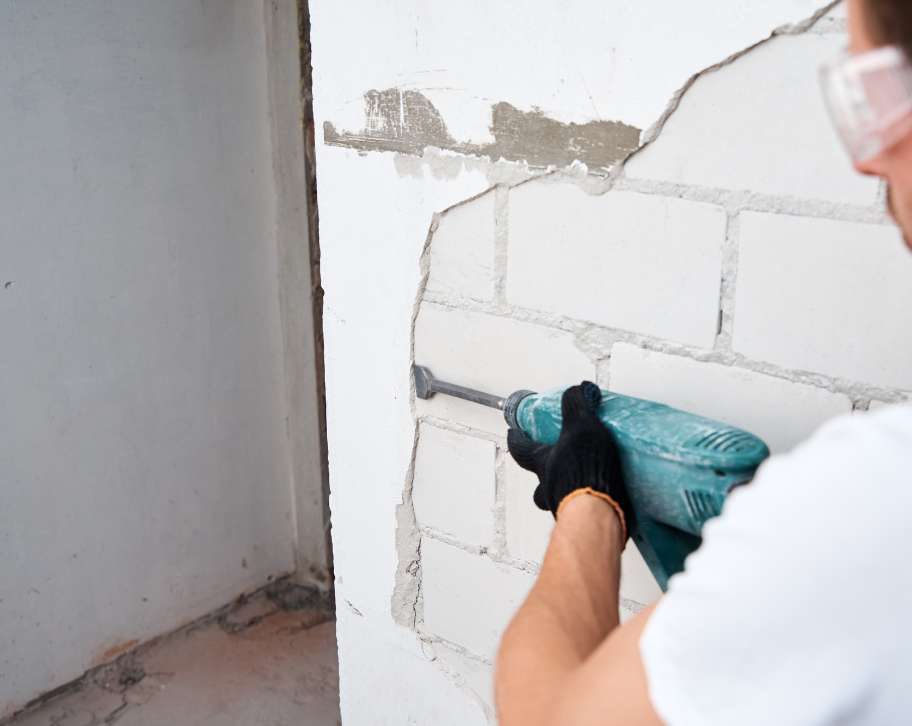
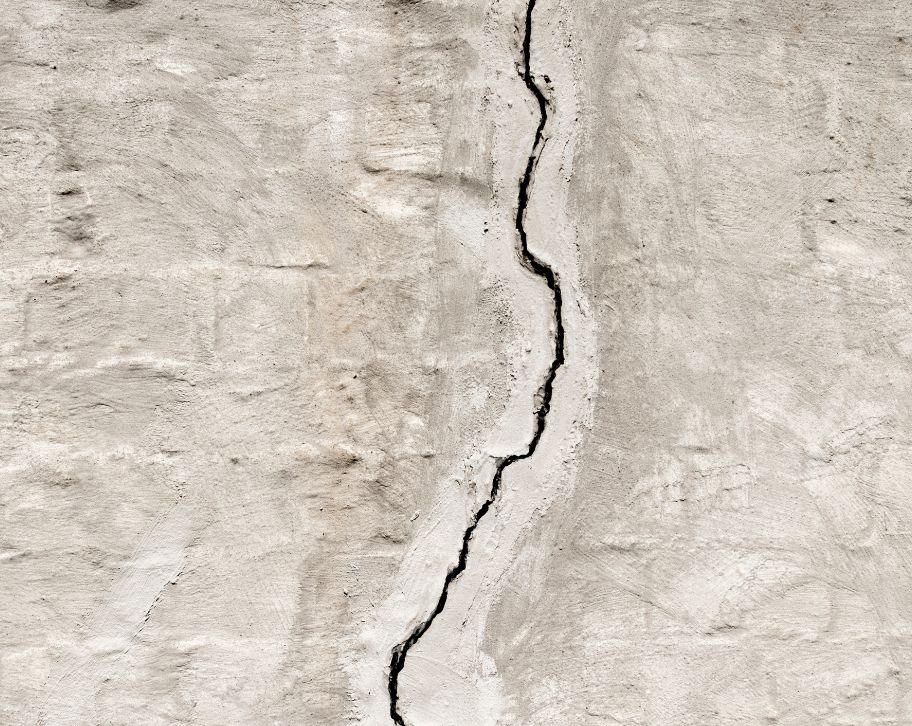
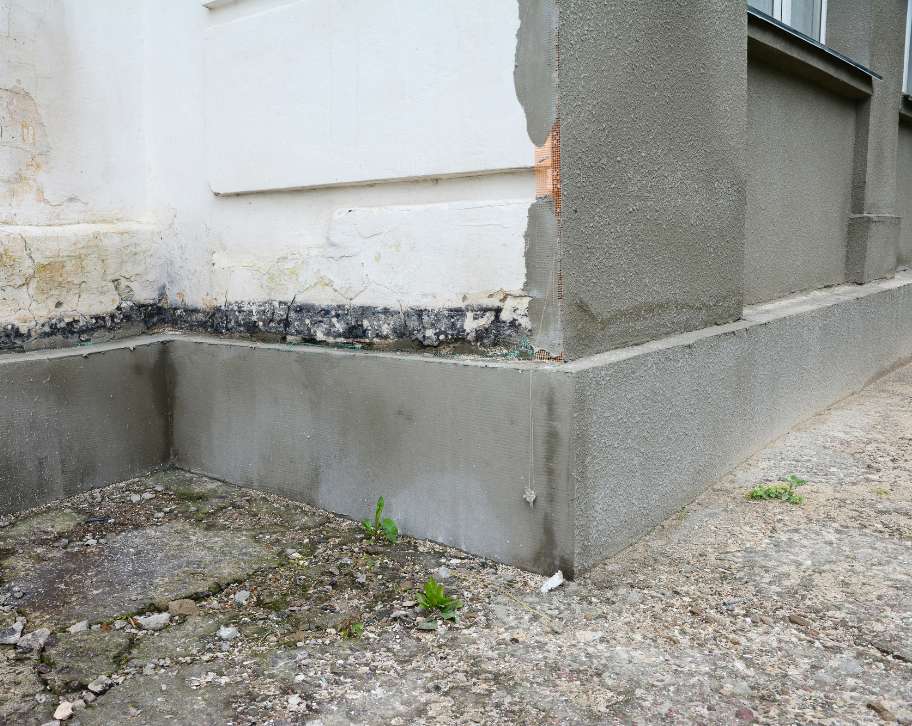
Avoid Chimney Crown Construction Mistakes Your chimney crown acts as the primary shield against weather, but what happens when it is built incorrectly? Common chimney crown construction mistakes can lead to serious water damage, structural problems, and costly home repairs. This protective slab is meant to guard your chimney’s masonry from rain and snow. When a crown fails due to poor construction, it puts your entire chimney system at risk. Understanding the signs of a faulty crown is the first step toward preventing extensive damage. This article will guide you through identifying these mistakes and recognizing the warning signs. What are common chimney crown construction mistakes? Common chimney crown construction mistakes involve using the wrong materials and improper structural design, which lead to premature failure. Flawed techniques during application and curing also significantly reduce the crown’s useful life and protective capabilities. These errors create vulnerabilities that allow water to get into the chimney structure. Many issues stem from a basic lack of understanding of how a chimney crown should function. From the concrete mix to the final shape, every detail matters for long-term endurance. Here are some of the most frequent errors seen in the field. Using unsuitable materials. A very common mistake is building the crown from standard masonry mortar. Mortar is not designed for direct weather exposure and lacks the strength of concrete. A proper crown uses a specific mix, typically Portland cement-based concrete, with a minimum strength of 3,000 PSI. It often includes reinforcing fibers to resist cracking, creating a more durable surface. Inadequate surface preparation. Applying new sealants or concrete over a dirty, unprepared surface is a recipe for failure. The new material will not bond correctly, causing it to peel or flake away quickly. All debris, old sealant, and loose material must be thoroughly removed for proper adhesion. Incorrect structural design and thickness. A flat crown is a major design flaw because it allows water to pool on the surface. Crowns must be sloped to shed water away from the flue. They also need to be at least two inches thick at the outer edge to have enough strength to withstand the elements. Missing an overhang and drip edge. When a crown is built flush with the chimney’s brickwork, water runs directly down the face of the masonry. This causes chimney spalling brick and mortar deterioration. A correct design includes a minimum two-inch overhang with a drip edge underneath to direct water away from the chimney walls. Neglecting expansion joints. The flue liner expands and contracts with temperature changes. Without a flexible, compressible expansion joint between the flue and the crown, this thermal movement will crack the rigid concrete. This is a frequent cause of major chimney crown cracking. Improper curing. Concrete needs time to cure and gain strength through a chemical process called hydration. Applying sealants too early or pouring concrete in extreme heat or freezing temperatures interrupts this process. The result is a weak, porous crown that fails early. How do you spot a poorly built chimney crown? You can spot a poorly built chimney crown by looking for visible signs of physical deterioration like cracks and crumbling material. Water-related damage, such as stains on the brick or leaks inside your home, also points directly to crown failure. These symptoms are clear indicators of underlying chimney crown construction mistakes. A careful visual inspection can reveal many problems with a poorly constructed crown. Knowing what to look for helps you catch issues before they grow into more severe structural problems. Keep an eye out for these telltale signs. Visible cracking. Cracks are one of the most obvious chimney crown damage signs. They can range from thin hairline fractures to deep fissures. Cracks radiating from the flue liner are particularly concerning, as they often suggest a lack of expansion joints. Crumbling or spalling concrete. If the surface of the crown is flaking, chipping, or crumbling, the material is failing. This often happens when the wrong mix, such as mortar instead of concrete, was used. It is a clear sign of chimney crown deterioration from freeze-thaw damage. Lack of an overhang. Look at the edge of the crown where it meets the brick. If it sits flush with the chimney face instead of extending past it, it was built incorrectly. This design flaw allows water to run down the masonry, causing damage. Flat surface with standing water. After it rains, check to see if water is pooling on top of the crown. A properly built crown has a noticeable slope to direct water off. A flat surface indicates a poor design that will accelerate wear. Water stains or efflorescence. White, powdery salt stains (efflorescence) or dark streaks on the chimney’s brickwork below the crown are signs of a chimney leak from crown. This means water is not being managed correctly and is saturating the masonry. Internal leaks. The most serious sign is water damage inside your home. Leaks appearing in the attic, on ceilings, or on walls near the fireplace are a red flag. This indicates the crown has completely failed, allowing water to get into your home’s structure. Damage around the flue liner. Gaps or cracks appearing right where the crown meets the flue liner suggest that thermal expansion is causing stress. This points to a missing or failed expansion joint, a critical construction error. Why does neglecting chimney crown damage matter? Neglecting chimney crown damage matters because small problems can grow into big structural failures, costing much more to fix. A damaged crown makes your entire chimney system less safe and can lower your property’s value. Not addressing the problem lets your home remain open to widespread water damage. A failing crown is more than just a cosmetic issue; it is a gateway for destruction. A small crack can begin a series of problems that impact your whole home. Knowing what can happen shows why chimney crown repair needs to happen promptly. First, a failing crown is a primary source of water intrusion. This