What Causes Brick Spalling?
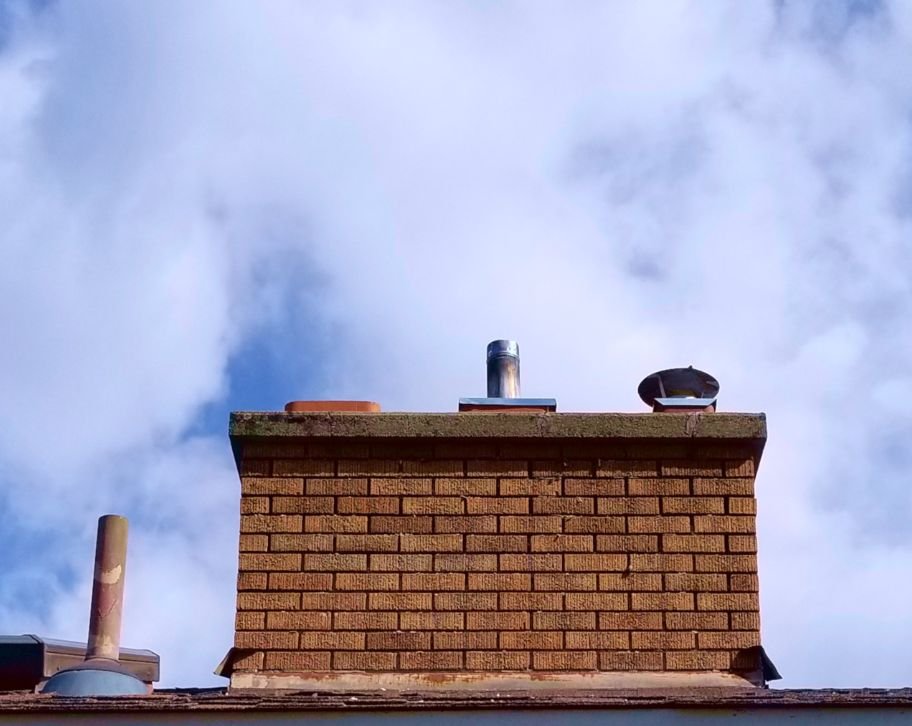
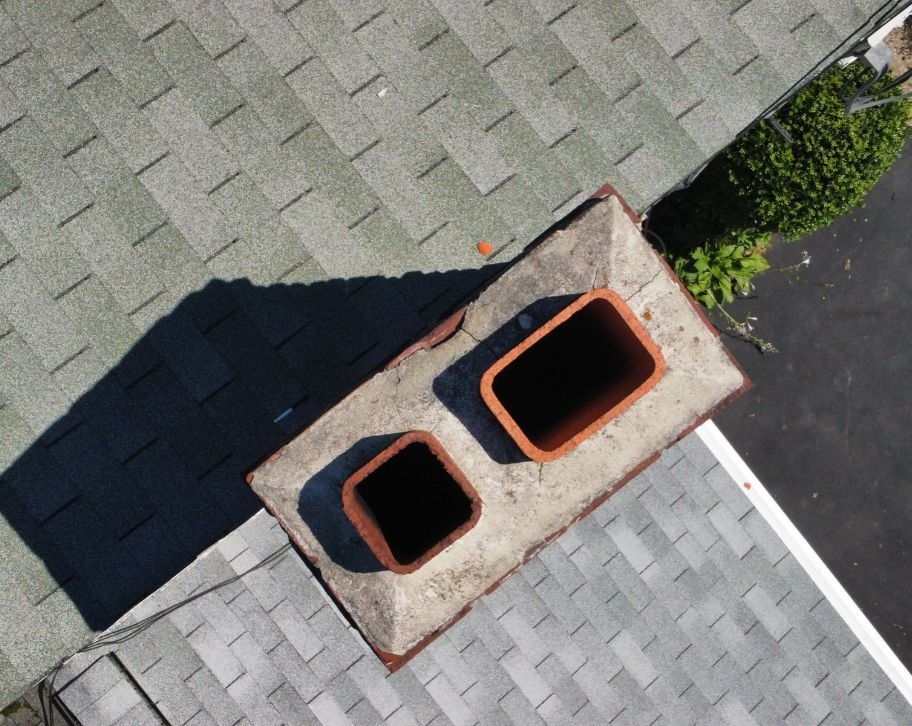
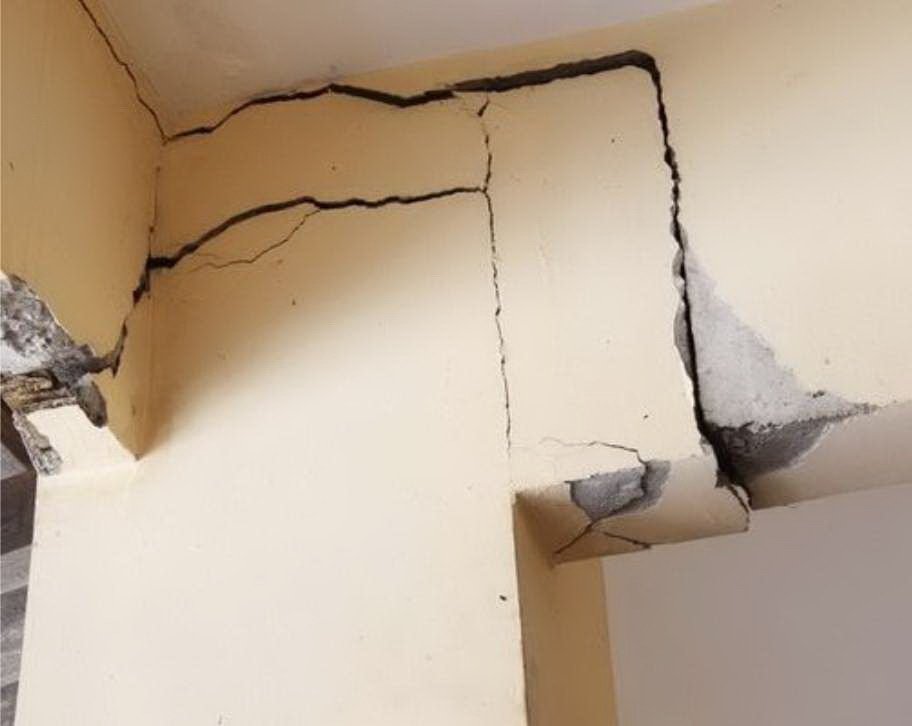
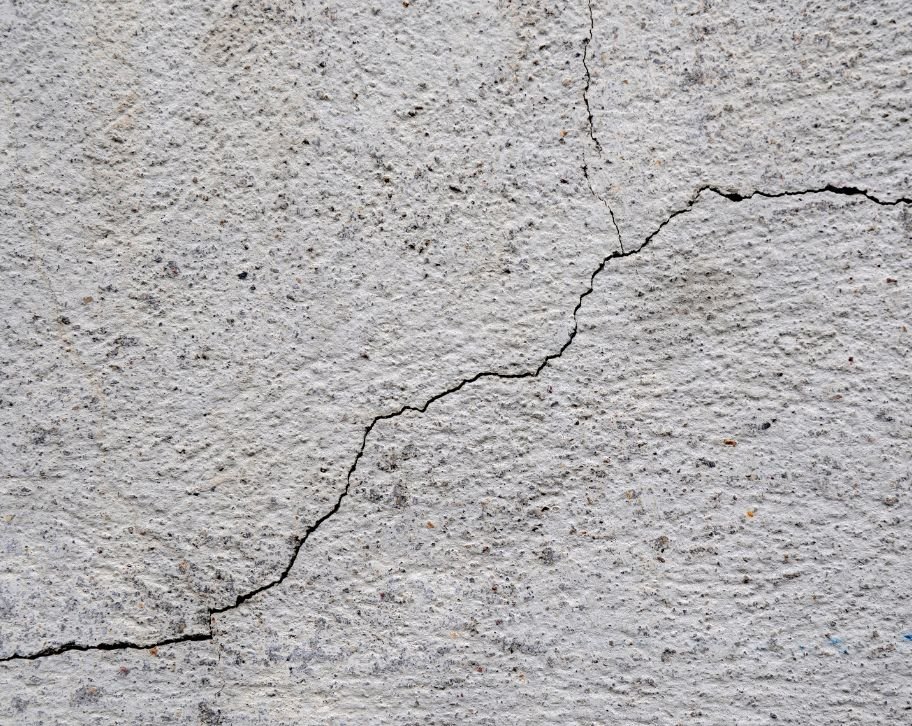
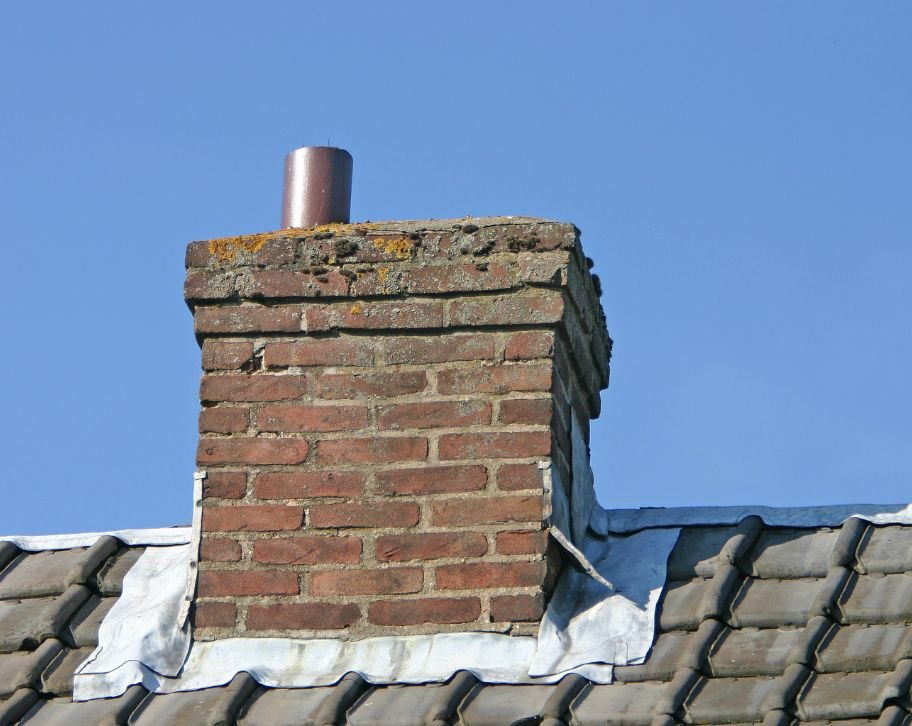
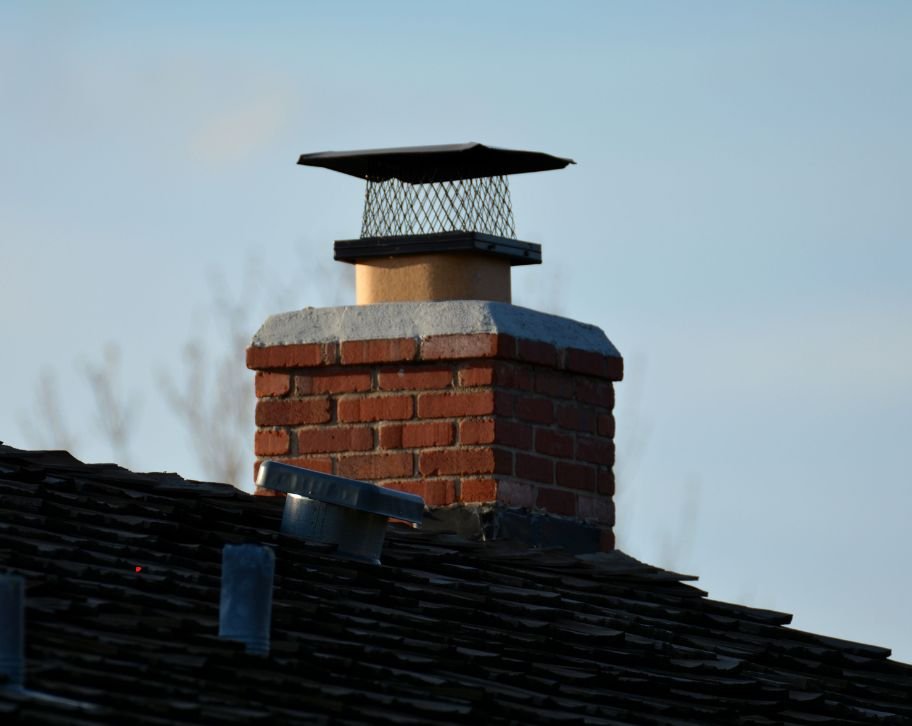
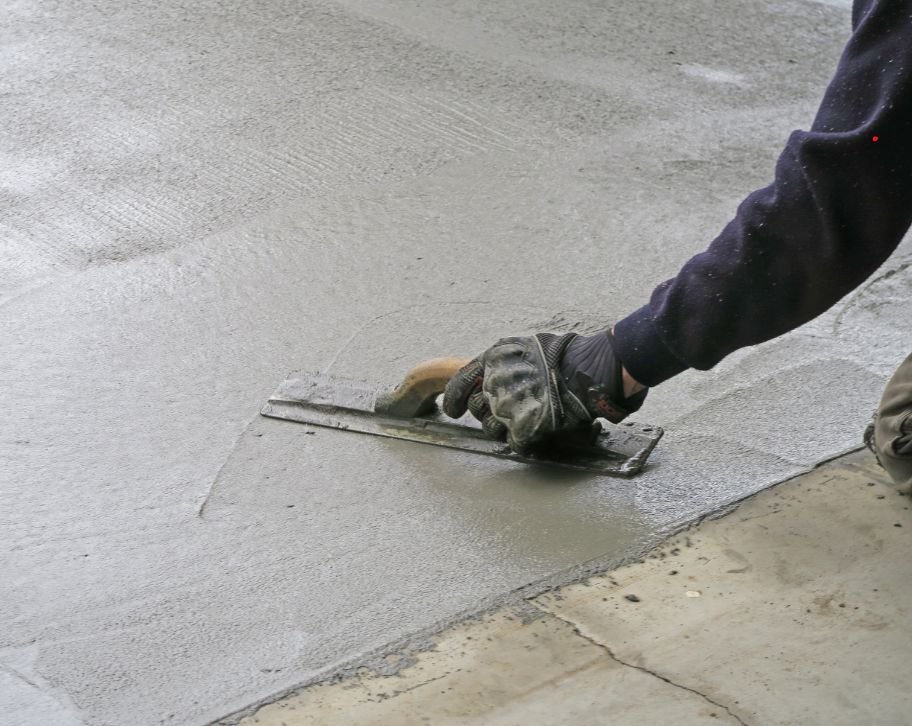
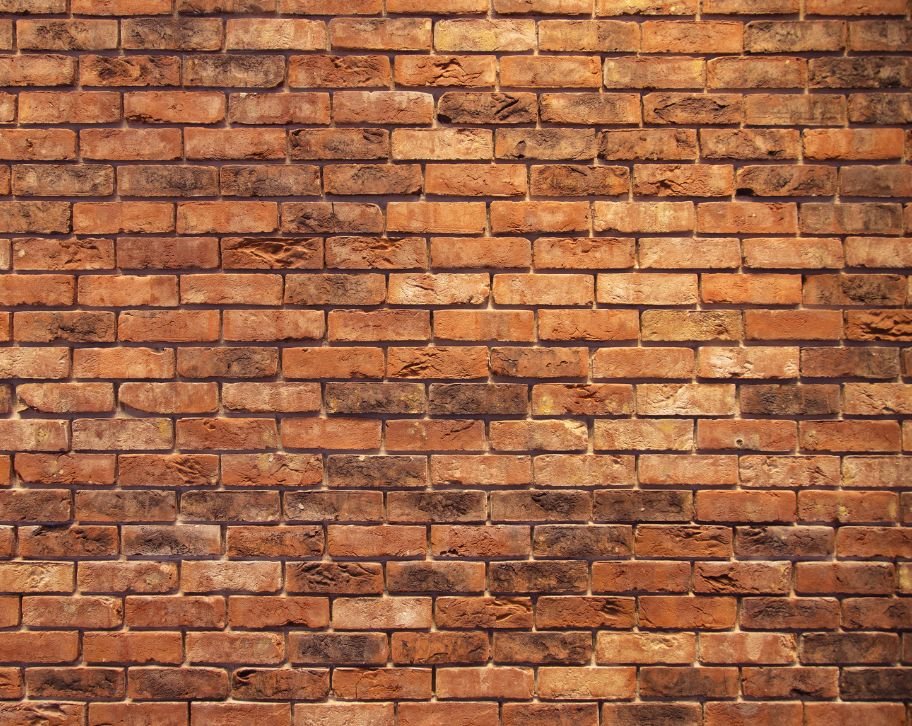
What Causes Brick Spalling? If your wall looks like it’s shedding its skin, you’re seeing spalling. But what makes strong bricks fall apart this way? This deterioration can turn your solid brick walls into a crumbling mess, potentially leading to expensive repairs and safety concerns. The mystery behind brick spalling usually comes down to four main factors: moisture infiltration, age-related wear, poor manufacturing quality, and underlying structural issues. Each of these elements can work alone or together to compromise your brick’s integrity. 4 top causes of brick spalling Water infiltration and freeze thaw cycles Your brick walls are like tiny sponges, they naturally soak up moisture from rain and even wet soil around your property. This happens because bricks contain countless microscopic pores that allow water to seep inside the brick material. Here’s what makes things tricky: when water freezes inside these pores, it expands by about 9%. As water thaws and decreases in size, it creates small cracks that grow bigger over time. This freezing and thawing cycle keeps repeating, making your brick surface weaker each time. Some spots on your home are more likely to spall than others. Check your chimney, the walls around doors or stairs, and areas near windows; these places often show the first signs of spalling brick. Water on the surface of these spots means trouble is brewing within the masonry. Age related deterioration Just like how your skin shows signs of aging, your brick walls face their own battle with time. Years of exposure to rain, harsh winds, and intense sunlight gradually wear down even the toughest bricks, making them more susceptible to damage. Think of temperature changes as nature’s way of stress-testing your bricks. When the weather swings from hot to cold, your bricks expand and contract repeatedly. This constant movement slowly weakens their structure, especially in older buildings. If your home was built before modern brick standards came into place, you might face more problems. Older bricks were often softer and more porous than today’s versions, making them especially vulnerable to weather damage. Many homes built in the 1960s and 1970s used bricks that weren’t as durable as current ones. Manufacturing defects Not all bricks are created equal, and some leave the factory with hidden problems. When bricks aren’t fired at the right temperature during manufacturing, they can end up too soft or fragile, making them more likely to absorb water and crack over time. The quality of materials used to make bricks matters a lot. During the 1960s and 1970s, some manufacturers cut corners by using lower-grade materials. These bricks often had poor absorption standards, meaning they soaked up more water than they should. Brick porosity is like a kitchen sponge; some bricks are just too spongy. When manufacturers don’t get the porosity right, these bricks act like tiny water reservoirs, holding moisture that can lead to spalling. This is especially true in older homes where building standards weren’t as strict. Structural issues Over time, every house naturally settles into its foundation, just like an old chair molding to fit its user. This settling process can cause subtle shifts in your brick walls, creating stress points where the masonry is under extra pressure. When a building moves or shifts, even slightly, it can lead to small cracks in the mortar joints between bricks. These tiny fissures might seem harmless at first, but they’re like open invitations for trouble. These cracks become perfect entry points for water to sneak into your wall system. Once water finds its way in through these openings, it starts a damaging cycle that can lead to more serious brick deterioration. Think of these cracks as tiny leaks in a boat – small at first, but potentially dangerous if left unaddressed. 5 signs of spalling brick You’ll notice flaking or peeling of brick surfaces, often starting as small chips that look like paint peeling off. Visible cracks appear on the brick face, typically in a spider-web pattern or running parallel to the surface. White, chalky deposits show up on brick surfaces, indicating water movement through the masonry. The brick surface becomes rough and pitted, with pieces of the face falling off in small chunks. Dark, damp patches appear on walls during or after rain, suggesting moisture is being trapped within the bricks. How to prevent spalling bricks Apply breathable waterproof sealants designed specifically for masonry, allowing bricks to release moisture while blocking water penetration from outside. Maintain proper drainage systems, including clean gutters and downspouts, to prevent water from pooling near brick foundations. Schedule professional inspections twice yearly, focusing on mortar joints, flashing integrity, and early signs of deterioration. Professional assessment and treatment When brick spalling becomes noticeable, it’s necessary to consult a masonry repair contractor immediately. Early intervention can prevent extensive damage and save significant repair costs in the long run. Treatment options vary from simple brick replacement to complete wall restoration. A mason can assess the extent of damage and recommend appropriate solutions, which might include repointing mortar joints or installing proper drainage systems. Professional repairs are expensive initially, but they provide lasting solutions that protect your property’s value. Most contractors offer different treatment levels, from essential repairs to comprehensive restoration, allowing you to choose based on your budget and needs. Restore your brick walls with trusted masonry repair services in Fredericton Is your brick wall showing signs of deterioration? Atlantic Brick and Stone offers professional masonry repair services to restore your walls to their former glory. Our experienced team specializes in addressing issues like spalling, chipping, and crumbling bricks. We understand that damaged walls can compromise both the appearance and structural integrity of your home. Our skilled masons use industry-proven techniques and premium materials to ensure lasting results. We focus on preventing further damage while enhancing your property’s visual appeal. Don’t let wall damage worsen over time. Trust our reliable masonry repair services in Fredericton to protect your investment and maintain your home’s beauty. Summary Brick spalling occurs when brick surfaces peel, flake,