Why Stucco Parging Cracks After One Winter?
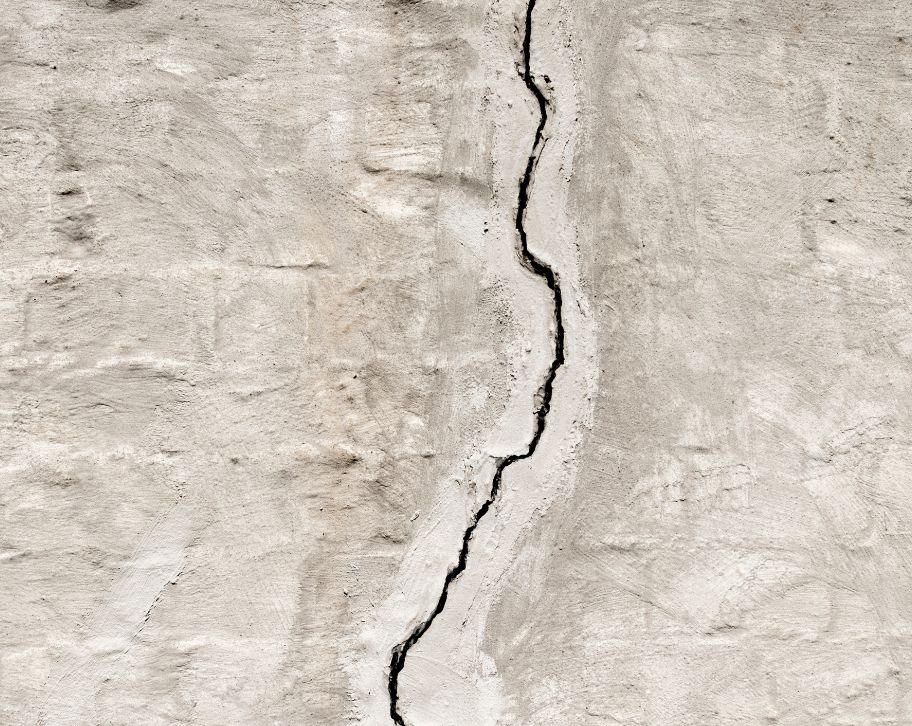
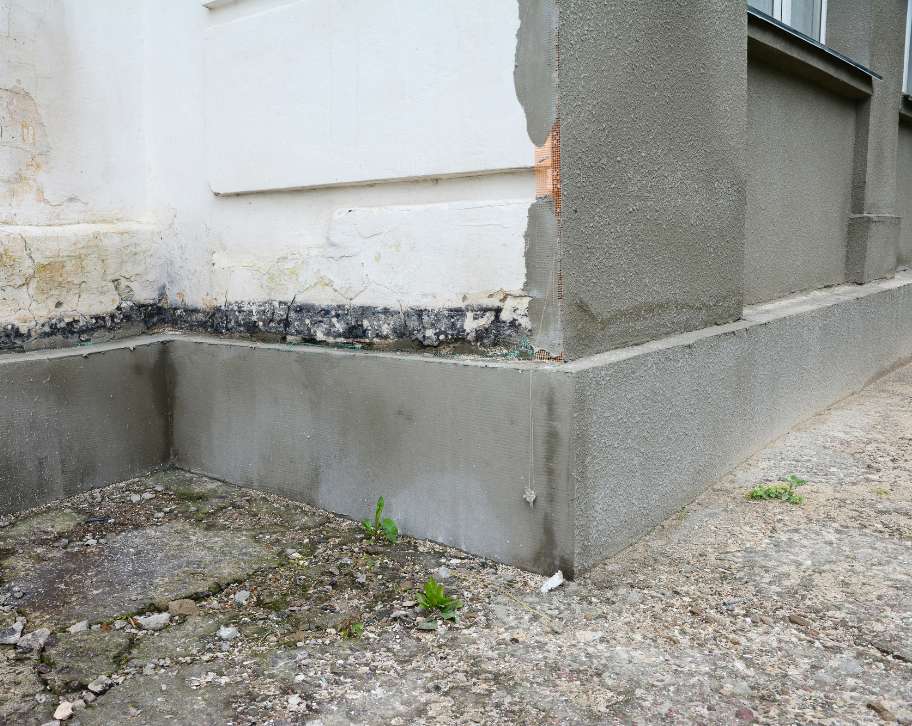
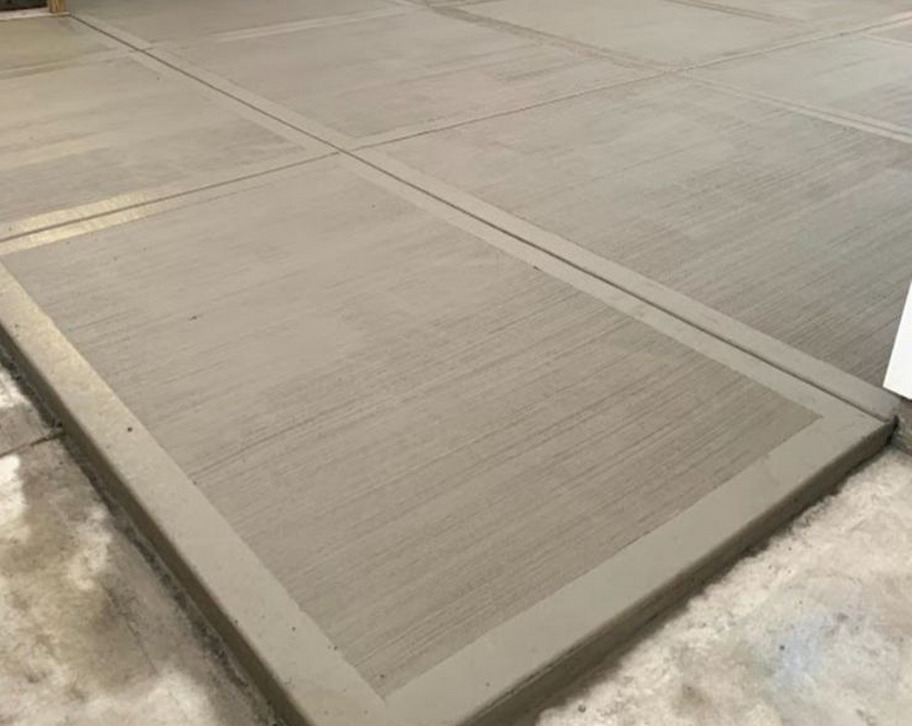
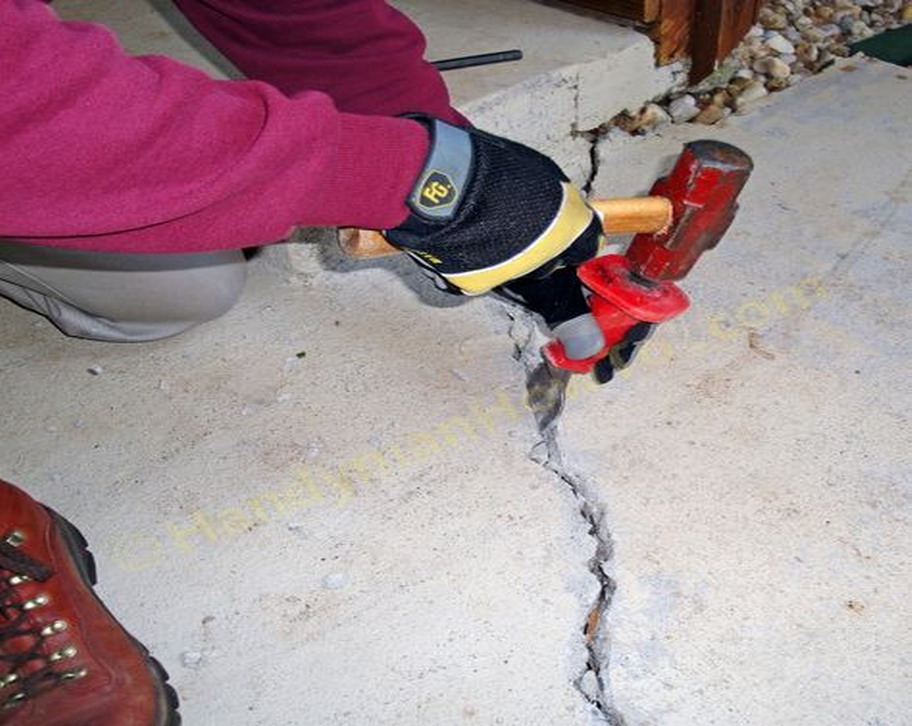
Why Stucco Parging Cracks After One Winter? You just invested in fresh parging for your foundation. The grey finish looks pristine and protective. Then winter arrives, and by March, you’re staring at spiderweb cracks, flaking patches, and sections that have simply fallen away. The frustration isn’t just about wasted money, it’s the sinking feeling that your foundation is vulnerable, that water could be seeping in, that you’ll need to start all over again. If this sounds familiar, you’re not alone. Across Fredericton and surrounding New Brunswick communities, homeowners face this exact problem every spring. The culprit isn’t bad luck or defective materials, it’s almost always improper installation combined with our region’s brutal freeze-thaw cycles. When temperatures swing from above freezing during the day to well below zero at night, poorly applied parging doesn’t stand a chance. Here’s what most people don’t realize: parging that fails after one winter reveals fundamental mistakes in application, material selection, or timing. Professional-grade parging should protect your foundation for 10 to 15 years, not 10 to 15 weeks. In this article, we’ll walk through why stucco parging cracks prematurely, how New Brunswick’s climate accelerates damage, and what warning signs indicate your coating won’t survive another season. You’ll also learn what professional installation looks like, when repair makes sense versus full replacement, and how to protect your investment through proper maintenance. Atlantic Brick and Stone has spent over 16 years addressing these exact challenges in the Fredericton area, and we’re sharing the expertise that prevents first-winter failures. What is stucco parging and why does it matter for your foundation? Stucco parging is a thin cementitious coating, typically a mixture of Portland cement, sand, bonding agents, and sometimes acrylic additives, applied to the visible portion of your foundation wall. That’s the area between where your siding ends and the ground begins, usually extending from the soil line to just below your home’s exterior cladding. While it provides a clean, finished appearance that conceals imperfections in concrete block or poured foundations, parging serves a far more critical function than aesthetics. Think of parging as your foundation’s first line of defence. Concrete and masonry blocks are inherently porous materials. Without protection, water penetrates these tiny pores, and when temperatures drop below freezing, that trapped moisture expands. This expansion creates what masons call masons call spalling, the process where the surface of concrete chips, flakes, or breaks away. Over multiple freeze-thaw cycles, this damage progresses from surface deterioration to structural compromise. A properly applied parge coat fills those pores and creates a water-resistant barrier. It’s designed to be a sacrificial layer, meaning it takes the environmental beating so your actual foundation doesn’t have to. When parging begins to fail, you patch or replace the coating, a relatively straightforward repair. When the foundation itself starts deteriorating, you’re looking at major structural work. In Fredericton’s climate, where we experience significant temperature fluctuations throughout winter and spring, this protective function becomes absolutely critical. A single season can involve 30 to 50 freeze-thaw cycles. Without proper parging, each cycle accelerates foundation damage. That’s why professional installation matters so much, when done correctly with appropriate materials and additives, parging should last 10 to 15 years. If yours is cracking after just one winter, something went seriously wrong during installation. Atlantic Brick and Stone specializes in both new parging installation and remediation of early failures. Our approach focuses on the technical details that separate durable protection from premature failure, particularly the climate-specific challenges that New Brunswick properties face. The main culprits behind first-winter parging failure When parging fails after a single winter, the problem almost always traces back to one of four critical installation errors. Understanding these issues helps you identify what went wrong and ensures any repair addresses the root cause rather than just covering up symptoms. Improper mixture ratios and weak mortar The strength and durability of parging depend entirely on precise proportions. The standard mixture typically calls for one part Portland cement to two or three parts clean, coarse sand, with water carefully controlled to about one-fifth to one-quarter the volume of dry materials. These ratios aren’t suggestions, they’re the difference between a coating that bonds properly and one that crumbles or peels. When there’s too much water in the mix, you end up with weak parging that lacks proper binding properties. It might look fine initially, but it won’t develop the strength needed to resist freeze-thaw cycles. The cement particles become too diluted to form strong bonds, and the dried coating remains porous and vulnerable. Conversely, too much sand creates a crumbly mixture with poor adhesion. The coating won’t grip the foundation properly and will eventually separate and fall away. Many inexperienced installers also skip critical additives like air-entraining agents. These specialized compounds create microscopic air bubbles throughout the mixture, providing expansion space when moisture freezes. Without them, the parging has no internal flexibility to accommodate freeze-thaw stress. Atlantic Brick and Stone meticulously controls mixing ratios for every project, adjusting based on substrate type and specific climate conditions to ensure maximum durability. Poor surface preparation and inadequate bonding Even the highest-quality parging mixture will fail if applied over a poorly prepared surface. The foundation must be thoroughly cleaned of: Dirt and debris Moss and organic growth Loose concrete particles Old paint or coatings Any deteriorated material If there’s existing parging that’s crumbling or flaking, it must be completely removed, you can’t simply cover over failing material and expect good results. The substrate also needs proper moisture conditioning. Bone-dry concrete will suck moisture out of wet parging too quickly, causing what masons call flash drying. This prevents proper curing and leads to immediate shrinkage cracks. The surface should be brought to a saturated surface dry state, damp but not dripping wet, before application begins. Chemical bonding agents create a bridge between old concrete and new parging, ensuring they fuse as a single unit rather than remaining as separate layers. These acrylic or polymer-based liquids are brushed onto the prepared foundation just before