Masonry Lintel Repair Guide
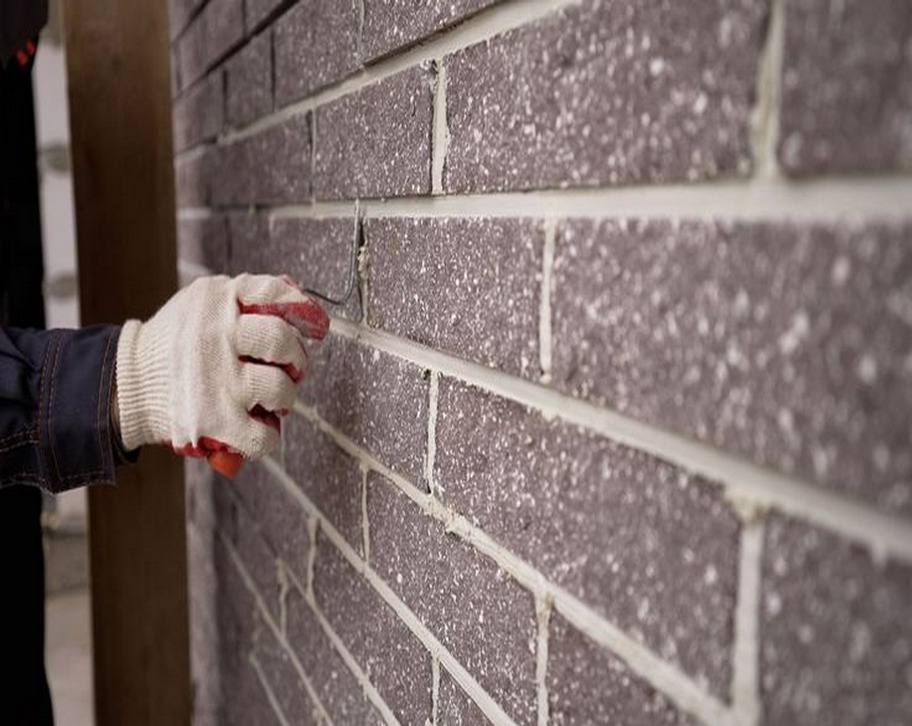
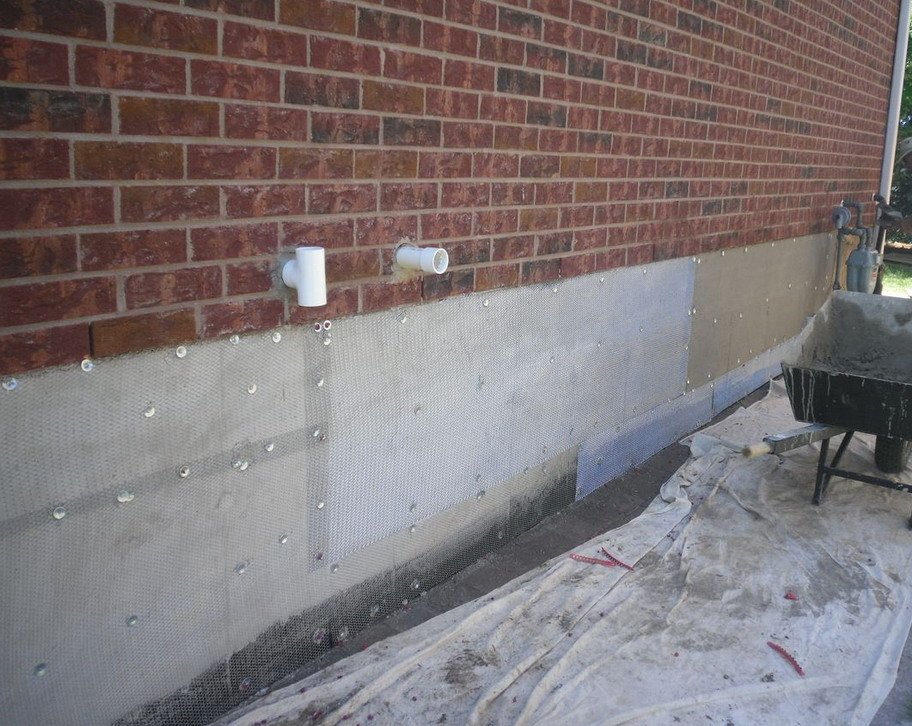
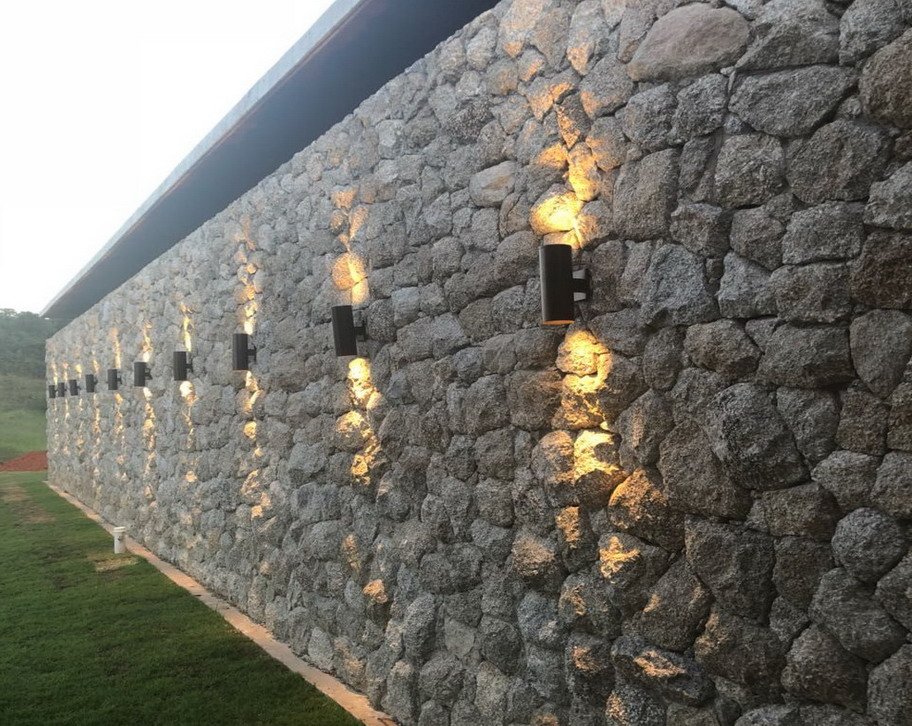
Masonry Lintel Repair Guide At first glance, the rows of brick or stone around a window look solid and simple. Hidden inside that wall is a small horizontal support called a lintel, quietly carrying thousands of pounds of weight. When that support starts to fail, cracks, sticking windows, and sagging brick can follow fast. This masonry lintel repair guide explains what is happening behind those cracks and what to do before the damage spreads. Lintels sit above door and window openings and transfer the load of the wall to the masonry on each side. They can be made from steel, concrete, brick, stone, or timber, and each material reacts differently to moisture, age, and Fredericton’s freeze and thaw cycles. When a lintel weakens, bricks can shift, frames can bend, and in serious cases a section of wall can fail. Even small changes around openings are a sign that the structure deserves a closer look. Homeowners often first notice small step cracks or a bit of rust and assume it is only cosmetic. In reality, those early lintel failure signs are a warning that the structure needs attention. Dealing with the problem early is far less stressful and far less expensive than waiting until a full steel lintel replacement or major brick rebuild is needed. In the sections ahead, this masonry lintel repair guide walks through what a lintel does, how different materials fail, the warning signs to watch for, repair versus replacement options, typical lintel replacement cost ranges, and simple maintenance habits. With more than fifteen years of hands-on masonry experience across Fredericton and nearby communities, Atlantic Brick and Stone helps homeowners with professional lintel repair, careful brick matching, and clear, no-pressure advice. For anyone worried about a crack over a window or door, we also offer free estimates so the next step feels clear and manageable. What is a masonry lintel and why does it matter? A masonry lintel is a horizontal support that spans the top of an opening in a brick, block, or stone wall. It sits just above a window or door and carries the weight of everything built above that gap. Without a proper lintel, the wall would try to push straight down into the opening, which a window or door frame is not built to handle. The job of the lintel is to collect the load from the bricks or stone above and spread that weight into the solid wall on each side. When it is sized and installed correctly, the lintel keeps the wall stable and straight. It also keeps that load off the frame so windows and doors can open and close freely for decades. In many houses, the lintel hides one or two courses above the window or door, buried behind brick or stone facing. That makes it easy to forget, right up until the day the wall starts showing signs that the hidden support is in trouble. When a lintel starts to fail, the support it provides becomes uneven or disappears in the middle of the span. Bricks can begin to tilt, mortar joints can crack in a stair-step pattern, and the wall above the opening may start to sag. In extreme cases, part of the wall can separate or collapse, which turns a small crack into a serious safety risk. Lintels can also have a decorative side, especially on older homes where shaped stone, patterned brick, or soldier courses draw the eye. Even when they look decorative, they are still structural pieces that should never be ignored. If there is any doubt about how well a lintel is performing, a professional inspection is the safest way forward. Common lintel materials and their vulnerabilities Around Fredericton, many masonry openings are supported by five main lintel materials. Steel, concrete, timber, stone, and brick each respond in their own way to moisture and freeze and thaw cycles. Weather that works into the wall can weaken, crack, or rust any of them. Steel lintels are common in newer brick homes because they are strong and able to span wide windows and doors. Their main weakness is corrosion once water gets past paint or flashing. As the steel rusts it swells, a process often called rust jacking, and that expanding metal can crack mortar, push bricks outward, and create the need for sagging lintel repair or full steel lintel replacement. Concrete lintels are usually precast with steel bars buried inside. They carry heavy loads well and are fire resistant, yet they are heavy and can crack if the support underneath is uneven. When water reaches the hidden rebar it can rust and expand, breaking the concrete from the inside and leading to concrete lintel repair or replacement work. Timber lintels tend to show up in older or cottage-style homes. Wood is light and easy to work with, but it has less strength than steel or reinforced concrete and it does not tolerate long-term moisture. Rot, insect damage, and warping can all reduce its capacity long before a clear crack forms in the surrounding brick. Stone lintels are often used on heritage buildings where the look of carved stone above a window is part of the design. They can last a long time but can also be brittle, and small natural flaws may grow into cracks when the building settles or water in fine joints freezes in winter. Brick lintels use bricks to bridge small openings, sometimes with a hidden steel angle or bar taking much of the load. On their own, bricks can only carry light loads over short spans, so when mortar washes out or the hidden steel rusts, brick lintel repair often means reinforcing the visible bricks and the support behind them. Knowing which material you have is the first step toward choosing the right repair method and spotting which risks—rust, rot, or cracking—are most likely over time. Warning signs your lintel is failing Lintel problems rarely appear overnight. The wall usually shows clues before bricks become loose or a window