Can You Waterproof a Basement From The Inside?
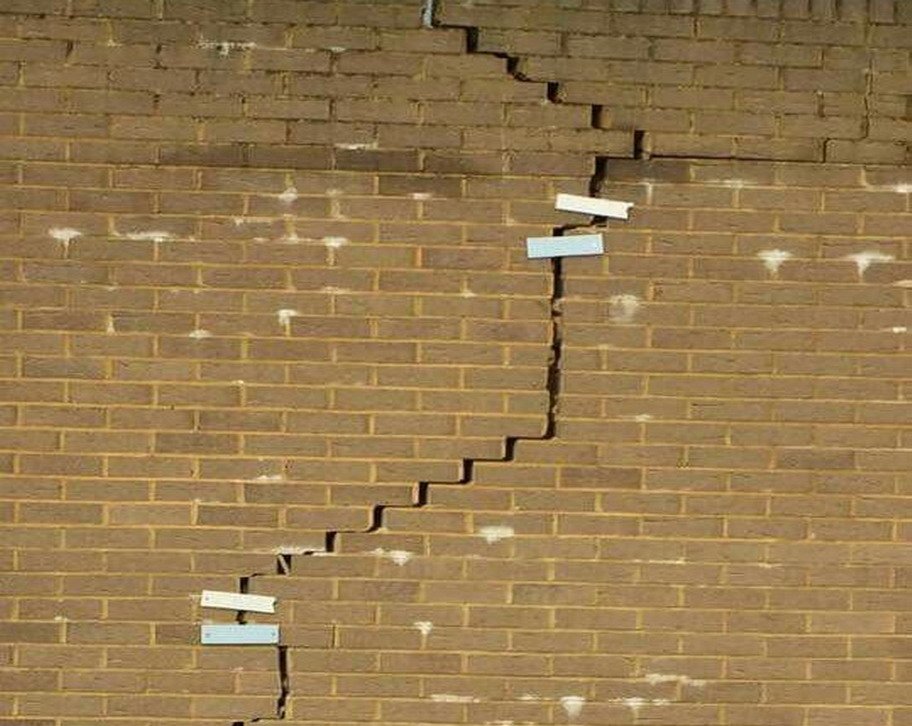
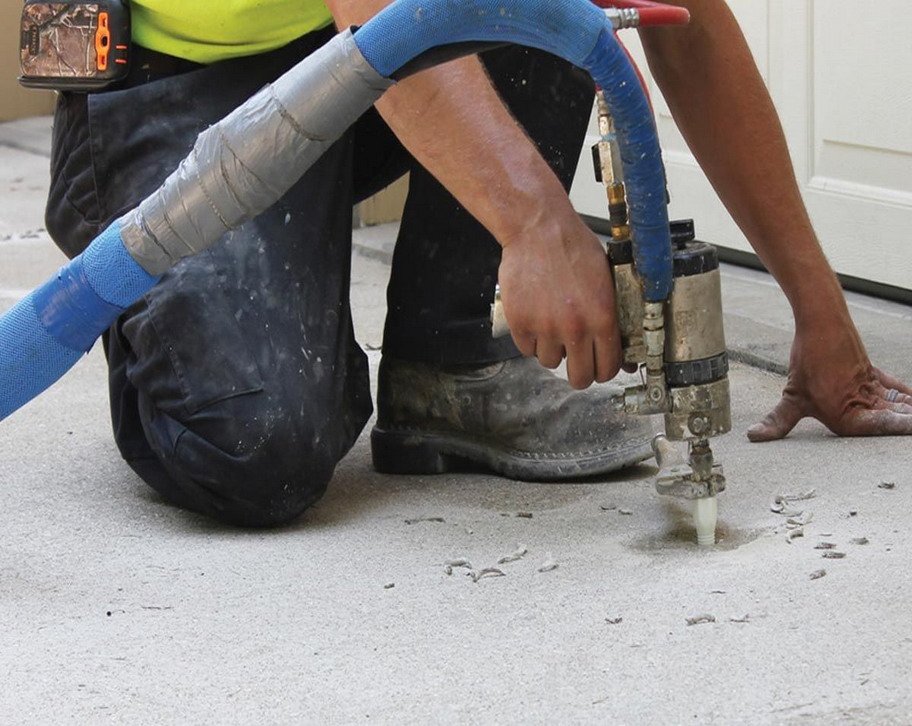
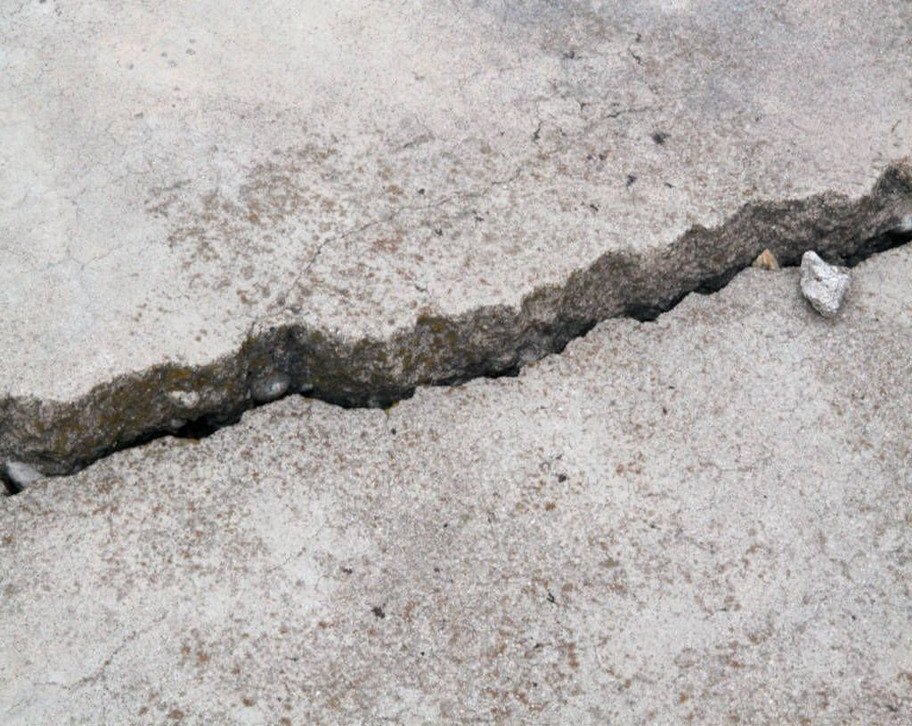
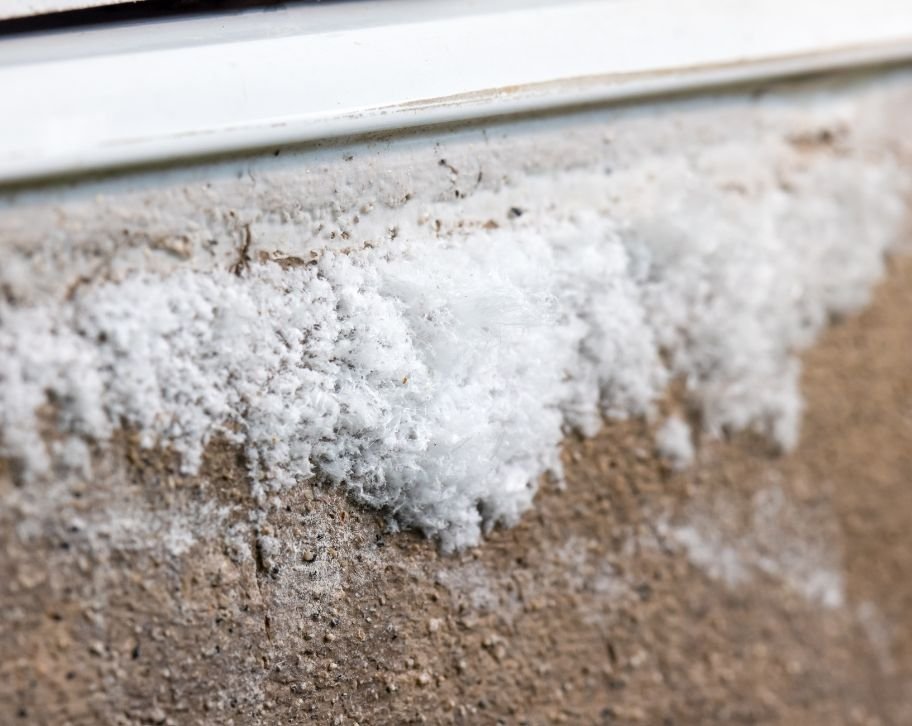
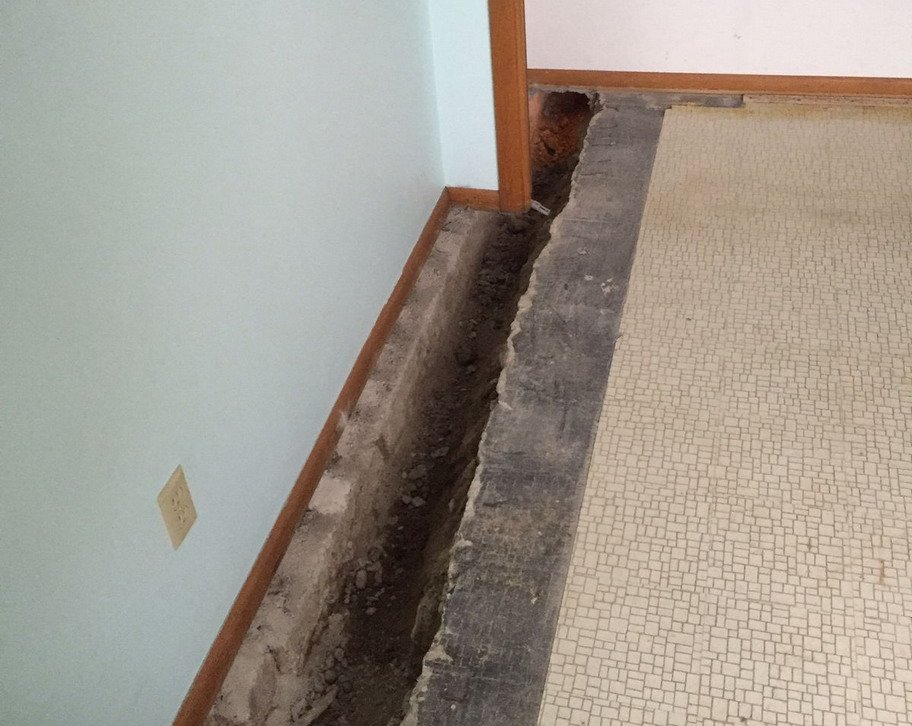
Can You Waterproof a Basement From The Inside? Basement is more than just extra storage space, it’s a necessary part of your home that needs protection from water damage. When you notice damp walls or water seepage, you might wonder if interior waterproofing can solve these issues. Interior basement waterproofing is a method that uses special sealants, drainage systems, and waterproof coatings to keep your basement dry. It’s often chosen when exterior waterproofing isn’t practical or cost-effective. Many homeowners prefer interior waterproofing because it’s less disruptive and typically more affordable than exterior methods. While both approaches have their place, interior solutions can effectively manage moisture and prevent water intrusion in most cases. Interior waterproofing is the first line of defense against basement leaks. From basic sealants to complete drainage system installations, you have several options to protect your home’s foundation from water damage. What are the causes of basement water infiltration? Foundation cracks let water seep into your basement through walls and floor, creating paths for moisture during heavy rains or snowmelt. Poor drainage systems around your home cause water to collect near the foundation, increasing hydrostatic pressure against basement walls. High water tables and saturated soil outside push moisture through concrete pores, leading to damp basement conditions. Window wells without proper drainage become collection points, directing excess water toward your foundation wall and basement interior. Inadequate grading or slopes toward your house allow water to flow towards rather than away from the foundation. These basement water problems show why proper waterproofing methods are essential for your home’s protection. 6 reasons you should invest in interior waterproofing Interior waterproofing can be completed without disturbing landscaping or outdoor features, making it less invasive than exterior methods. Work can be done year-round regardless of weather conditions, allowing for greater scheduling flexibility and immediate solutions. Costs are typically lower since no excavation is required, saving homeowners significant money on equipment and labor. Installation is quicker than exterior methods, usually taking days instead of weeks to complete the waterproofing process. Effectively controls indoor humidity and prevents mold growth by creating a barrier against moisture penetration into living spaces. Protects stored items and finished basement spaces while maintaining the structural integrity of your foundation walls. 4 popular interior waterproofing techniques Sealants and coatings Keeping your basement dry starts with proper sealants and coatings. A quality waterproof coating creates a strong barrier against moisture on your basement walls. You’ll want to clean the walls thoroughly before applying hydraulic cement to seal any visible cracks. For deeper cracks, epoxy injections work wonders to prevent water seepage and strengthen the foundation wall. Interior drainage systems A well-designed interior drainage system helps direct water away from your home’s foundation. By installing an interior French drain along your basement floor, you can effectively manage water intrusion. This system collects excess water before it seeps into the basement and channels it away from the foundation, helping maintain a dry basement environment. Sump pump systems Installing a sump pump is one of the most effective methods to waterproof your basement from the inside. The system works by collecting water in a basin and automatically pumping it away from your home. A properly installed sump pump system can prevent water damage and protect against hydrostatic pressure that often causes basement leaks. Vapor barriers and insulation Your interior basement waterproofing project isn’t complete without proper vapor barriers. These specialized membranes work alongside moisture-resistant insulation to keep your basement stays dry. The waterproof membrane creates a barrier that prevents water from entering your basement while controlling condensation on walls and floor. This combination offers excellent protection against mold growth and water-related issues. Materials and products commonly used in interior waterproofing Crystalline waterproof sealants penetrate deep into basement walls, creating a permanent moisture barrier that bonds with concrete to seal cracks. Heavy-duty polymer membranes with ICC certification offer superior protection against hydrostatic pressure and water seepage in your basement. WaterGuard drainage channels, installed along basement walls, effectively collect and direct water to the sump pump system. High-grade hydraulic cement patches seal leaks instantly, while epoxy-based coatings provide long-lasting waterproof protection for interior walls. Modern silicate-based waterproofing products transform your porous basement surface into a water-resistant barrier without trapping moisture inside. 4 installation steps of interior basement waterproofing Begin by conducting a thorough inspection of your basement to identify water damage patterns, active leaks, and potential entry points. Document all findings and measure moisture levels to establish a baseline for repairs. Surface preparation is important. Remove old paint, clean walls thoroughly, and repair visible cracks using hydraulic cement. For larger cracks, consider using epoxy injection methods for a more permanent solution. Install your chosen waterproofing system according to manufacturer specifications. Whether applying surface coatings or installing drainage channels, proper technique is essential. Pay special attention to corners and joints where leaks commonly occur. Finally, complete the installation by adding drainage systems and sump pumps if required. Test all systems thoroughly and monitor the basement for several weeks to ensure effectiveness. Remember to maintain detailed records of the installation for future reference and warranty purposes. Pros and cons of interior vs exterior waterproofing Interior waterproofing is ideal for addressing minor water seepage and is particularly effective in finished basements. It’s less disruptive to your landscape and typically more budget-friendly, making it a popular choice for many homeowners. However, interior methods have their limitations. While they manage water that enters the basement, they don’t address the root cause of external water pressure. This could potentially lead to structural issues if left unaddressed over time. Exterior waterproofing, though more expensive and invasive, provides comprehensive protection by preventing water from reaching foundation walls. It’s especially crucial for homes in areas with high water tables or severe drainage issues. Both methods require different maintenance approaches. Interior systems need regular sump pump checks and drain cleaning, while exterior solutions, once properly installed, generally require minimal maintenance but are harder to access for repairs. 5 limitations of interior waterproofing Interior waterproofing may miss